
Glass Guides
Glass Skylights Installation Guide: Bringing Natural Light to Your Home
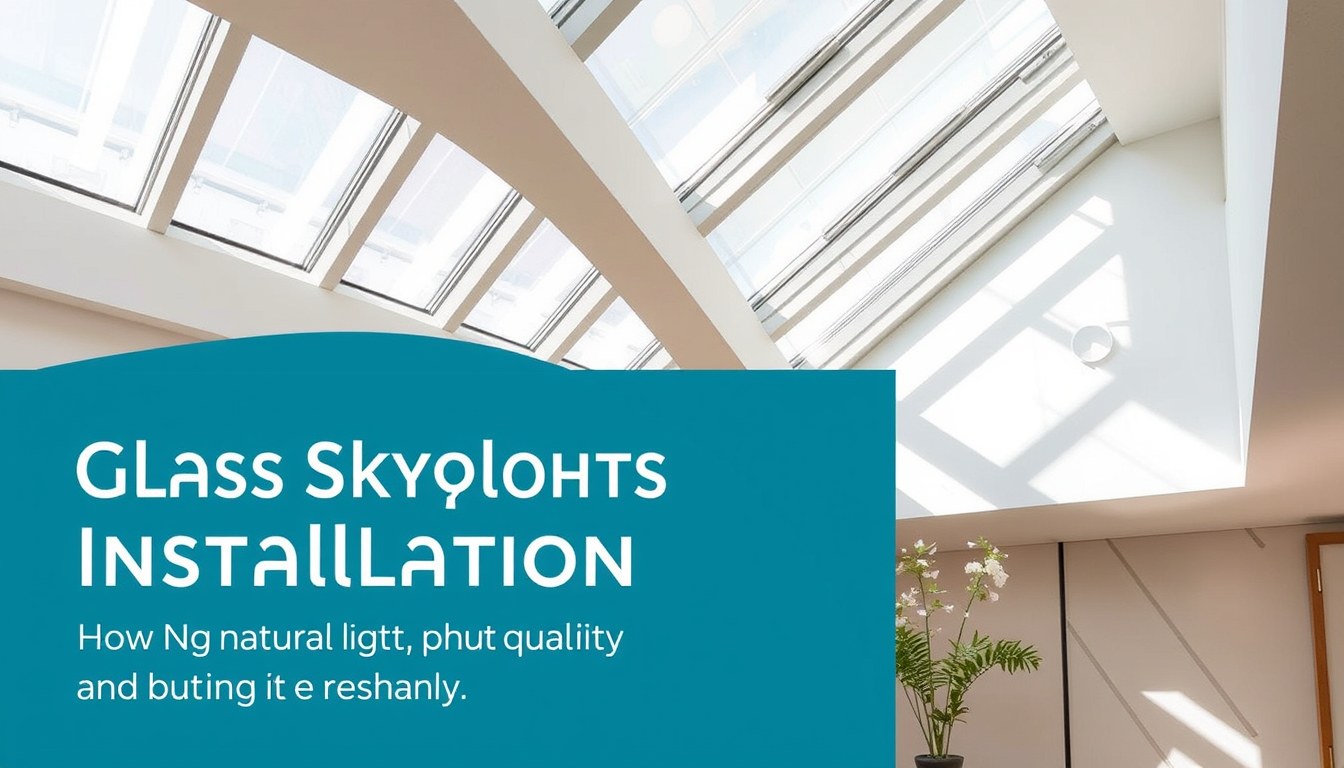
Glass skylights are one of the most effective ways to flood your home with natural light, reduce energy consumption, and create a striking visual centerpiece. Whether you're renovating an existing property or designing a new home, skylights offer both functional and aesthetic benefits. This guide walks you through the entire process of selecting, planning, and installing glass skylights in your Indian home, ensuring you make informed decisions that align with your climate, budget, and architectural vision.
Understanding Skylight Types and Materials
Before diving into installation, it's essential to understand the different types of skylights available in the Indian market. The most common options are fixed skylights, which are stationary and ideal for maximum light penetration; ventilating skylights, which open to allow air circulation and reduce indoor heat; and tubular skylights, which use reflective tubes to channel light into interior spaces without requiring roof opening. Each type serves different purposes depending on your home's layout and climate zone.
Glass thickness and material composition directly impact durability, insulation, and safety. Standard skylight glass typically ranges from 6mm to 10mm thickness, with tempered glass being the safest choice for Indian homes due to its impact resistance during monsoons and extreme weather. Double-glazed units with low-emissivity (Low-E) coatings help regulate temperature by reflecting heat during summers while retaining warmth in winter, making them particularly valuable for homes in regions with significant temperature fluctuations. Laminated glass adds an extra security layer and reduces UV transmission, protecting your interiors from fading.
Glass Specifications for Indian Climates
- Tempered glass: 8-10mm thickness for strength and safety
- Double-glazed units: Recommended for energy efficiency
- Low-E coating: Reduces heat gain by up to 30% during summer months
- Laminated glass: Provides UV protection and enhanced security
- Tinted options: Bronze or gray tints reduce glare without compromising light transmission
Assessing Structural Requirements and Load Capacity
Installing a skylight isn't simply cutting a hole in your roof. Your home's structural integrity must support the additional weight and stress that a skylight introduces. The roof structure, including rafters, beams, and the overall framing system, needs to be evaluated to determine if reinforcement is necessary. In Indian homes, this assessment is particularly critical because many older properties have concrete roofs or wooden frames that may not be designed to accommodate additional openings.
Professional architects and structural engineers should assess your roof before installation begins. They'll examine the existing support system, identify load-bearing elements, and recommend reinforcement if needed. Depending on your roof type—whether it's a flat concrete roof common in urban Indian homes, a pitched tiled roof, or a timber frame—the structural requirements will vary significantly. Consulting with firms like Vastulinear Pvt Ltd or Studio ARCPLUS CONSTRUCTION can provide detailed structural analysis tailored to your specific building.
Key Structural Considerations
- Roof load-bearing capacity and rafter spacing
- Weight of the skylight unit plus glass (typically 25-50 kg for standard units)
- Additional stress during heavy monsoon rains or snow accumulation
- Reinforcement requirements for concrete or wooden roof structures
- Local building codes and municipal approval processes
Waterproofing and Weatherproofing Solutions
In India's diverse climate zones—from heavy monsoon regions to arid areas—waterproofing is the most critical aspect of skylight installation. Poor waterproofing leads to leaks that damage ceilings, walls, and interiors, creating costly repairs and potential structural damage. The skylight frame must be sealed with high-quality flashing and sealants that prevent water ingress while allowing for thermal expansion and contraction.
Modern skylight installations use multi-layer waterproofing systems. The primary seal is typically achieved through aluminum or stainless-steel flashing that integrates with the roof membrane. A secondary seal using polyurethane or silicone-based sealants provides additional protection. In regions with heavy rainfall, some installers recommend adding a tertiary drainage system that channels any water that penetrates the first two layers safely away from the building structure. Additionally, the skylight opening must be pitched slightly to encourage water runoff rather than pooling.
Waterproofing Best Practices
- Use aluminum or stainless-steel flashing compatible with your roof type
- Apply premium-grade polyurethane or silicone sealants (avoid cheaper acrylic options)
- Ensure proper pitch and slope to encourage water drainage
- Install secondary drainage channels in high-rainfall areas
- Conduct water testing before final installation completion
- Plan for regular maintenance and resealing every 5-7 years
Installation Planning and Positioning
The location and orientation of your skylight significantly influence its performance. In the Northern Hemisphere, south-facing skylights maximize winter sun exposure while north-facing options provide consistent, glare-free light year-round. However, in India's tropical and subtropical climate, south and west-facing skylights can lead to excessive heat gain during summer months. East-facing skylights offer a balanced approach, capturing morning light without afternoon heat. Consider your room's purpose—kitchens and workspaces benefit from maximum light, while bedrooms may require more control over light intensity.
The size of your skylight should be proportionate to the room. A common guideline is that skylight area should be approximately 5-10% of the room's floor area for adequate natural light without excessive heat gain. Larger skylights look impressive but can increase cooling costs during summer. Consult with experienced architects like Scale Architects or AB Initio Architects & Planners who understand regional climate patterns and can recommend optimal positioning for your specific location.
Positioning Checklist
- Evaluate cardinal directions and seasonal sun paths
- Assess existing shade from trees or neighboring buildings
- Consider room function and desired light intensity
- Plan for future landscaping or construction nearby
- Calculate optimal skylight-to-floor-area ratio (5-10%)
- Account for glare and heat gain during peak summer months
Step-by-Step Installation Process
Professional installation typically follows a structured sequence. First, the installation area is marked and prepared, with temporary support structures installed to prevent roof collapse during the opening creation. The roof opening is then carefully cut, with special attention to existing electrical wiring, plumbing, or ventilation systems. Once the opening is prepared, the frame is positioned and secured, followed by installation of flashing and waterproofing layers. Finally, the glass unit is installed, sealed, and tested for water-tightness.
Most professional installers complete a standard skylight installation in 1-2 days, though complex projects may require longer. It's essential that installation occurs during dry weather to ensure proper sealing and curing of waterproofing materials. In India, this typically means scheduling installation during winter months or between monsoon seasons. After installation, allow 24-48 hours for sealants to cure before exposing the skylight to water.
Installation Timeline
- Pre-installation inspection: Structural assessment and material preparation (1-2 days)
- Roof opening creation: Careful cutting and temporary bracing (4-6 hours)
- Frame installation: Positioning and securing the skylight frame (2-3 hours)
- Flashing and waterproofing: Installation of primary and secondary seals (3-4 hours)
- Glass unit installation: Careful placement and final sealing (1-2 hours)
- Testing and inspection: Water testing and final quality check (1-2 hours)
- Sealant curing: Waiting period before exposing to water (24-48 hours)
Cost Considerations and Budget Planning
Skylight installation costs in India vary widely depending on size, glass specifications, location, and structural requirements. A basic fixed skylight with standard glass typically costs between ₹15,000 to ₹40,000 for the unit itself, with installation labor adding another ₹10,000 to ₹25,000. Premium options like double-glazed units with Low-E coating or motorized ventilating skylights can range from ₹50,000 to ₹1,50,000 or more. Structural reinforcement, if needed, can add ₹20,000 to ₹60,000 to the total project cost.
When budgeting, include contingencies for unexpected structural issues, specialized waterproofing in high-rainfall areas, and potential modifications to interior finishes around the skylight. While DIY installation might seem cost-saving, professional installation is strongly recommended to ensure proper waterproofing and structural integrity. The cost of fixing a poorly installed skylight that leaks far exceeds the initial installation savings.
Maintenance and Long-Term Care
Glass skylights require regular maintenance to ensure longevity and optimal performance. Clean the glass quarterly to remove dust, bird droppings, and debris that reduce light transmission. The sealants and flashing should be inspected annually, particularly after monsoon seasons, to identify any signs of deterioration. In areas with hard water, mineral deposits may accumulate on the glass; use soft water or distilled water for cleaning to prevent streaking.
Every 5-7 years, professional resealing is recommended, especially in high-rainfall regions. Check weather stripping around ventilating skylights annually and replace if cracked or compressed. During heavy storms, inspect the interior ceiling around the skylight for any signs of water seepage. Addressing minor leaks immediately prevents water damage from spreading to structural elements or insulation.
Frequently Asked Questions
What is the best glass thickness for skylights in India?
For Indian homes, 8-10mm tempered glass is ideal for standard skylights. This thickness provides excellent strength to withstand monsoon winds and heavy rainfall while maintaining good light transmission. Double-glazed units with Low-E coating add energy efficiency without significantly increasing weight. In areas prone to hail or severe weather, laminated glass offers additional safety by preventing glass from shattering into sharp fragments.
How much does a typical skylight installation cost in India?
A basic fixed skylight costs between ₹15,000 to ₹40,000 for the unit, with installation labor adding ₹10,000 to ₹25,000. Premium double-glazed units with motorized ventilation can cost ₹50,000 to ₹1,50,000. Structural reinforcement, if needed, adds another ₹20,000 to ₹60,000. Total project costs vary significantly based on roof type, location, and structural requirements.
Can I install a skylight on a concrete roof?
Yes, skylights can be installed on concrete roofs, which are common in Indian urban homes. However, concrete roofs require careful structural analysis to ensure the roof can support the skylight's weight and the stress of an opening. Reinforcement with steel beams or additional support structures may be necessary. Consult a structural engineer before proceeding with installation on concrete roofs.
How do I prevent leaks around my skylight?
Proper waterproofing is achieved through a multi-layer system: aluminum or stainless-steel flashing, premium-grade polyurethane or silicone sealants, and proper pitch for drainage. In high-rainfall areas, secondary drainage channels are recommended. Annual inspections and resealing every 5-7 years help maintain the waterproofing integrity. Ensure the skylight is installed during dry weather and sealants cure for 24-48 hours before water exposure.
Which direction should my skylight face?
In India's tropical climate, east-facing skylights are ideal as they capture morning light without excessive afternoon heat. South-facing skylights work well for winter light but may cause overheating in summer. North-facing options provide consistent, glare-free light but less overall illumination. Consider your room's purpose, local sun angles, and existing shade when determining orientation. Professional architects can provide climate-specific recommendations for your location.
Conclusion and Next Steps
Installing a glass skylight transforms your home by bringing natural light, improving ventilation, and creating an architectural focal point. Success depends on careful planning, proper structural assessment, quality materials, and professional installation. Whether you're working with Madras Terrace Architects, TATTVA, The House Of Designs, or other qualified professionals, prioritize waterproofing, structural integrity, and climate-appropriate specifications.
Ready to bring natural light into your home? Browse verified glass suppliers, architects, and installation specialists on glassy.in, India's largest glass-business directory. Find trusted professionals in your area who specialize in skylight installation and can guide you through every step of your project.