
Shower Enclosures
Glass Shower Enclosure Leaks: Troubleshooting Silicone Seal Failures
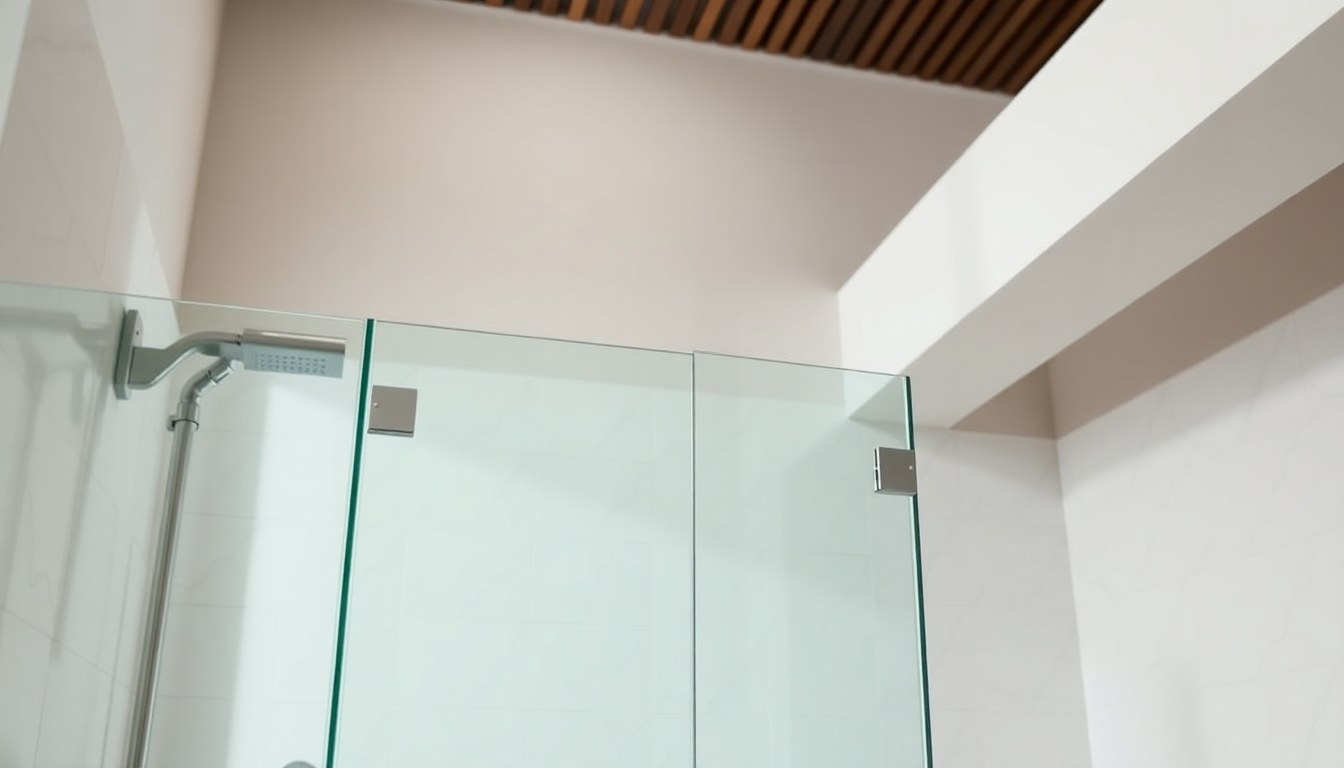
A leaking glass shower enclosure can turn your bathroom into a water-damaged headache within weeks. The culprit is almost always the silicone sealant that holds the glass panels together and keeps water inside the enclosure. Whether your frameless shower is brand new or several years old, understanding what causes seal failure and how to fix it will save you money and prevent costly structural damage to your bathroom.
Why Silicone Seals Fail in Shower Enclosures
Silicone sealant is the backbone of any frameless glass shower enclosure. It bonds glass panels to each other and to the walls, creating a waterproof barrier. However, silicone doesn't last forever. Several factors accelerate its degradation, starting with constant exposure to moisture, temperature fluctuations, and cleaning chemicals.
The primary enemies of silicone seals are UV rays, mold growth, and physical stress. In Indian bathrooms where humidity levels remain high year-round, silicone can begin breaking down within 3-5 years of installation. Cheap, low-grade silicone fails even faster. Additionally, improper installation—such as applying silicone over dirty surfaces or using non-shower-grade sealant—guarantees premature failure.
- Moisture exposure: Constant wet conditions cause silicone to soften and lose elasticity
- Mold and mildew: Fungal growth eats away at sealant from within
- Chemical damage: Harsh cleaners and hard water deposits degrade silicone bonds
- Temperature swings: Hot showers followed by cool air cause expansion and contraction
- Poor installation: Insufficient depth, width, or surface preparation leads to early failure
- Age: Even premium silicone has a 5-10 year lifespan in wet environments
How to Identify a Failing Silicone Seal
Catching a failing seal early prevents water from seeping into walls and causing mold or structural damage. Regular inspection of your shower enclosure takes just a few minutes and can save thousands of rupees in repairs.
Visual Warning Signs
Look for discoloration, cracking, or separation along the seams where glass meets glass or glass meets wall. Black or green spots indicate mold growth within the sealant. If the silicone appears shrunken, pulled away from the glass edge, or has visible gaps, replacement is overdue. Run your finger along the seals—healthy silicone feels smooth and slightly flexible, while degraded silicone feels crumbly or hard.
Water Leak Indicators
Water stains on the bathroom wall adjacent to your shower enclosure, soft drywall near the base of the enclosure, or a musty smell in your bathroom all point to seal failure. If water pools on the bathroom floor outside the enclosure after each shower, the leak is significant. Check the underside of the enclosure base for standing water or dampness.
DIY Silicone Seal Repair: Step-by-Step
If the damage is limited to one small area or a few localized cracks, you can attempt a DIY repair. However, if the entire seal is compromised or water is already damaging walls, professional help is worth the investment.
Tools and Materials You'll Need
- 100% silicone caulk (shower-grade, mold-resistant)
- Caulking gun
- Utility knife or caulk removal tool
- Rubbing alcohol or white vinegar
- Clean cloth or sponge
- Painter's tape
- Gloves and eye protection
Repair Process
Step 1: Remove old silicone. Use a utility knife to cut away loose or cracked sealant. For stubborn silicone, apply a commercial caulk remover or soak the area with rubbing alcohol for 15-20 minutes. Scrape away all residue until you reach bare glass and tile. This step is critical—new silicone won't adhere properly to old, degraded material.
Step 2: Clean and dry the joint. Wipe the joint thoroughly with a cloth soaked in rubbing alcohol or white vinegar. Remove all dust, soap residue, and mold. Allow the area to dry completely—ideally overnight or at least 4-6 hours. Any moisture will compromise the new seal.
Step 3: Apply painter's tape. Place painter's tape on both sides of the joint, about 3mm away from the seam. This creates clean edges and prevents silicone from spreading onto glass surfaces where it's difficult to remove.
Step 4: Apply new silicone. Load 100% shower-grade silicone caulk into a caulking gun. Apply steady, even pressure as you move along the joint. The bead should fill the entire gap and sit slightly proud of the surface. Work in small sections if you're inexperienced—silicone sets quickly.
Step 5: Smooth the bead. Dampen your finger with soapy water and run it along the silicone bead to smooth it and push it into the joint. Remove painter's tape while the silicone is still wet but set enough to hold its shape—usually 10-15 minutes.
Step 6: Allow full curing. Most silicone requires 24-48 hours of cure time before the shower can be used. Check the product label and follow the manufacturer's instructions. Premature water exposure will compromise the seal.
Cost Estimate for DIY Repair
A tube of quality shower-grade silicone caulk costs ₹200-400 in India. A caulking gun, if you don't already own one, adds another ₹150-300. For a single repair, total DIY cost runs ₹350-700. If multiple seals need replacement, the cost remains low because one tube covers significant linear distance.
When to Call a Professional
DIY repair works well for small, localized cracks or minor seal gaps. However, several situations call for professional intervention. If water is actively leaking into walls, if the entire perimeter seal is compromised, or if you're uncomfortable working with silicone, hire a glass specialist.
Professional glass enclosure installers in major Indian cities charge ₹2,000-8,000 for complete seal replacement, depending on the enclosure size and complexity. While this seems expensive compared to DIY, professionals use industrial-grade materials, ensure proper surface preparation, and provide warranties. If a DIY repair fails and water damage spreads, professional repair costs can balloon to ₹15,000-50,000.
Additionally, if your enclosure is still under warranty, attempting DIY repair may void coverage. Check your warranty terms before proceeding with self-repair.
Preventive Maintenance to Extend Seal Life
The best remedy for silicone seal failure is prevention. Simple maintenance habits can extend seal life to 7-10 years or beyond.
- Ventilate your bathroom: Run exhaust fans during and 20-30 minutes after showers to reduce humidity
- Squeegee the glass: After each shower, wipe down glass panels with a squeegee to reduce standing water
- Use mild cleaners: Avoid bleach-based or acidic cleaners on silicone. Use pH-neutral bathroom cleaners instead
- Address mold early: If you spot black spots on silicone, clean immediately with a diluted vinegar solution
- Inspect quarterly: Set a reminder to check seals every three months for early signs of degradation
- Avoid abrasive scrubbing: Never use steel wool or harsh scrubbers on silicone seals
Choosing the Right Silicone for Replacement
Not all silicone caulk is suitable for shower enclosures. When purchasing replacement silicone, look for products labeled "100% silicone," "shower-grade," and "mold-resistant." Acrylic caulk or silicone-acrylic blends are cheaper but fail much faster in wet environments.
Premium brands like Dow Corning, Neutral Cure, and Indian brands like Pidilite offer excellent durability. Expect to pay ₹300-600 for a high-quality tube. Cheap silicone at ₹100-150 will fail within 2-3 years, making premium products a better long-term investment.
Always purchase silicone specifically formulated for bathrooms. This type includes mold inhibitors and remains flexible after curing, accommodating the movement that occurs in shower enclosures.
Frequently Asked Questions
How long does silicone sealant last in a shower enclosure?
High-quality, properly installed shower-grade silicone typically lasts 5-10 years. In humid climates like India, the lifespan often falls toward the lower end of this range. Cheap silicone or poor installation can result in failure within 2-3 years. Regular maintenance and prompt mold removal can extend seal life.
Can I apply new silicone over old silicone?
No. New silicone will not bond properly to old, degraded sealant and will fail quickly. Always remove old silicone completely before applying new caulk. This extra step is essential for a durable repair.
Is it safe to use my shower immediately after resealing?
No. Most silicone caulks require 24-48 hours of cure time before water exposure. Using the shower prematurely will compromise the seal and waste your repair effort. Always follow the manufacturer's cure time on the product label.
Why does mold keep growing on my silicone seals?
Mold thrives in warm, moist environments. If your bathroom lacks proper ventilation, mold will repeatedly colonize the seals. Improve ventilation by running exhaust fans during and after showers, keeping the bathroom door open, and ensuring windows are unobstructed. Using mold-resistant silicone helps, but ventilation is the real solution.
Should I hire a professional or attempt DIY repair?
DIY repair is cost-effective for small, isolated cracks or gaps. If the seal is extensively damaged, water is already leaking into walls, or you lack confidence, professional repair is worth the expense. Professionals ensure proper surface preparation and use industrial-grade materials, reducing the risk of repeated failure.
Keep Your Shower Enclosure Leak-Free
Silicone seal failure is common but preventable and repairable. Regular inspection, prompt maintenance, and quality materials are your best defenses against water damage. Whether you choose DIY repair or professional help, addressing leaks promptly protects your bathroom structure and keeps your shower enclosure functional for years to come. Explore vetted glass specialists and enclosure installers on Glassy.in to find trusted professionals in your area for inspections, repairs, or replacement services.