
Smart Glass
Smart Glass Partition Installation Guide: Step-by-Step for Office Cabins
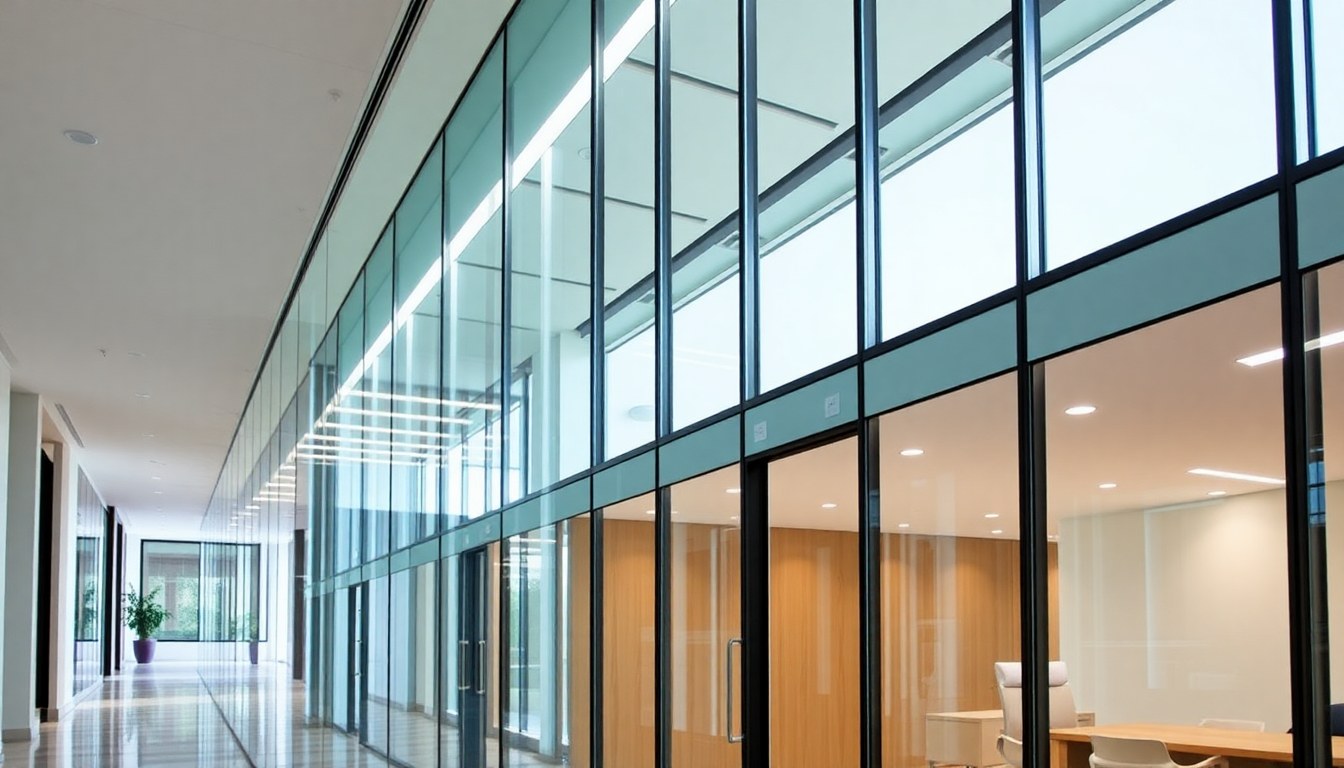
Smart glass partitions are transforming modern office spaces, offering privacy on demand without sacrificing natural light or aesthetics. If you're planning to install switchable glass in your cabin or office, understanding the installation process—from initial planning through wiring and power management—ensures a smooth implementation and years of reliable performance. This guide walks you through every stage, so you can confidently upgrade your workspace.
Understanding Smart Glass Technology and Requirements
Smart glass, also called switchable glass or electrochromic glass, changes from transparent to opaque when an electrical current passes through it. The technology relies on a thin layer of liquid crystals or electrochromic material sandwiched between glass panes. When power is applied, the molecules align, blocking light; when power is cut, the glass returns to clear.
Before installation, you need to assess whether your office cabin meets basic requirements. Smart glass demands a stable power supply, proper electrical infrastructure, and adequate space for the control mechanism. Most units operate on standard 110V or 220V AC power in India, though some newer models use low-voltage DC systems. The glass itself is heavier than standard partitions, so structural support must be verified beforehand. Additionally, smart glass performs best in climate-controlled environments; extreme temperature fluctuations can affect the switching speed and longevity.
Key Technical Specifications
- Power consumption: Typically 2–5 watts per square meter in active mode, minimal in passive state
- Switching time: Usually 1–3 minutes to transition from clear to opaque
- Thickness: Generally 6–12 mm, depending on the manufacturer and desired durability
- Operating voltage: 48V DC or 110V/220V AC, depending on the system
- Lifespan: 100,000+ switching cycles under normal conditions
Pre-Installation Planning and Site Assessment
Proper planning is the foundation of a successful installation. Start by measuring your office cabin precisely—height, width, and any architectural irregularities. Document the location of existing electrical outlets, switches, and the nearest electrical panel. Identify load-bearing walls versus partition walls; smart glass partitions can be installed on both, but the mounting approach differs. Check for pipes, cables, or ducts that might run through the installation area, as these will affect the layout.
Next, consult with a qualified electrician to assess your building's electrical capacity. Smart glass systems require dedicated circuits to avoid overloading existing infrastructure. If your office is in an older building with limited electrical capacity, you may need to upgrade the panel or install additional circuits. This step is critical and non-negotiable for safety and compliance with Indian electrical codes.
Documentation and Compliance
Before purchasing smart glass, verify local building codes and fire safety regulations. In India, partitions used in commercial spaces must meet fire safety standards, particularly if they're load-bearing or used in high-rise buildings. Many smart glass manufacturers provide fire-rated options. Request certificates of compliance from your supplier and ensure they align with Indian Standards (IS) codes for building materials.
Create a detailed installation plan that includes electrical routing, control panel placement, and emergency procedures (e.g., how the glass behaves during power loss). Share this plan with your facilities manager and electrician before work begins.
Electrical Wiring and Power Setup
The electrical installation is the most critical phase. Smart glass partitions require three main electrical components: a dedicated power supply, control wiring, and a switching mechanism. The power supply must be isolated from other office equipment to prevent voltage fluctuations that could damage the glass or control circuit.
Step-by-Step Wiring Process
- Install a dedicated circuit: Run a new electrical circuit from your main panel directly to the smart glass installation site. Use appropriately rated breakers and wiring (typically 2.5 mm² copper wire for 16A circuits in India). This circuit should not serve any other equipment.
- Position the power supply unit: Mount the transformer or power supply unit in a dry, accessible location near the glass. Keep it away from moisture and ensure proper ventilation to prevent overheating.
- Run control wires: Connect low-voltage control wires from the power supply to the glass edges. These wires carry the signal that tells the glass to switch. Use conduit or cable trays to organize wires neatly and protect them from damage.
- Install the control panel: Mount the control panel (dimmer, remote, or smart home integration) at a convenient height, typically near the cabin entrance. This panel allows occupants to adjust the glass opacity.
- Ground the system properly: Ensure all metal frames and the glass edges are properly grounded to prevent electrical hazards. Use a dedicated ground wire connected to the building's earth electrode system.
- Test all connections: Before final installation, test the circuit with a multimeter to confirm voltage and polarity. Have a licensed electrician verify the installation meets Indian Electrical Rules (IER) standards.
Improper wiring is a common cause of smart glass failure and safety issues. If you're not experienced with electrical work, hire a certified electrician familiar with smart glass systems. Many glass suppliers, such as Studio IN-GRID, can recommend trusted installation partners in your region.
Physical Installation of the Glass Partition
Once electrical infrastructure is ready, the physical installation begins. Smart glass is heavier than standard glass, so proper framing and support are essential. The frame is typically aluminum or steel, chosen for its strength and ability to conduct electricity safely.
Frame Assembly and Mounting
Start by assembling the frame according to the manufacturer's specifications. Lay out all components on a clean surface and check that everything is present. Aluminum frames usually come in sections that bolt together; use a torque wrench to tighten bolts to the recommended specification—over-tightening can crack the glass, while under-tightening leads to instability.
Position the frame in the cabin, using a level to ensure it's perfectly vertical and horizontal. Secure temporary braces to keep it stable during the next steps. Mark anchor points on the floor, walls, and ceiling where the frame will be permanently fastened.
Installing the Smart Glass Panes
Carefully insert the smart glass panes into the frame channels. Most systems use rubber gaskets or silicone seals to hold the glass securely while allowing for thermal expansion. Slide the glass slowly and steadily; rushing this step risks cracking the panes or misaligning electrical contacts.
Once all panes are in place, connect the electrical busbars that run along the edges of the glass. These busbars carry the electrical current that makes the glass switch. Ensure connections are tight and corrosion-free. Loose connections cause flickering, uneven switching, or complete failure.
Securing and Sealing
Bolt the frame permanently to the floor, walls, and ceiling using expansion anchors or lag bolts, depending on the substrate (concrete, brick, or drywall). Seal gaps between the frame and building surfaces with silicone caulk to prevent dust infiltration and maintain thermal efficiency. Allow the caulk to cure fully before operating the glass.
Testing, Commissioning, and Maintenance
After installation, thorough testing ensures everything works as intended. Begin with a visual inspection: check that all connections are secure, wiring is properly routed, and the glass is free of defects or cracks.
Functional Testing
Power on the system and observe the glass behavior. It should transition smoothly from clear to opaque over 1–3 minutes. If the transition is uneven, slow, or incomplete, the issue is usually a loose electrical connection or a faulty control circuit. Test the control panel, remote, or smart home integration to confirm all switching methods work.
Run the glass through at least 10 complete cycles (clear to opaque and back) during the first week. Monitor for any unusual sounds, heat generation, or electrical odors. If problems arise, stop immediately and contact the supplier or a qualified technician.
Long-Term Maintenance
Smart glass requires minimal maintenance, but a few practices extend its lifespan. Clean the glass surfaces monthly with a soft, lint-free cloth and mild glass cleaner—avoid abrasive materials that scratch the surface. Check electrical connections annually for corrosion, especially in humid environments. If the glass is in a high-traffic area, inspect the frame for signs of loosening and retighten bolts as needed.
Keep the power supply unit free of dust by vacuuming its vents quarterly. If the glass stops responding or switching becomes sluggish after years of use, the electrochromic layer may be degrading—this is normal wear and usually signals the need for replacement.
Cost Considerations and Supplier Selection
Smart glass partitions are an investment. Costs vary widely based on size, technology type, and installation complexity. In India, expect to pay ₹2,000–₹4,000 per square meter for the glass itself, plus ₹15,000–₹50,000 for electrical setup and installation labor. Larger installations may benefit from bulk pricing.
When selecting a supplier, prioritize experience and after-sales support. Reputable suppliers provide detailed installation manuals, warranty coverage, and access to technicians for troubleshooting. Request references from previous installations and verify that the supplier offers products certified for Indian building standards.
Frequently Asked Questions
Can smart glass be installed on existing partitions, or does it require new framing?
Smart glass typically requires new framing because it's heavier than standard glass and needs proper electrical integration. However, if your existing partition frame is structurally sound and has adequate support, a qualified installer can sometimes retrofit smart glass into it. Always consult with the glass supplier and a structural engineer before attempting retrofitting.
What happens to smart glass during a power outage?
During a power outage, smart glass reverts to its default state—usually transparent. Some advanced systems include battery backup to maintain opacity during brief outages, but this feature adds cost. If privacy is critical during power loss, consider hybrid solutions that combine smart glass with manual roller shades.
How long does the installation process take?
A typical office cabin installation takes 3–7 days, depending on the size and complexity of electrical work. Simple installations with straightforward power access may be completed in 2–3 days. Older buildings requiring electrical upgrades may take 2–3 weeks. Plan accordingly and schedule installation during low-productivity periods to minimize office disruption.
Is smart glass suitable for all office environments?
Smart glass works best in climate-controlled offices. Extreme heat, cold, or humidity can affect switching speed and longevity. It's not recommended for outdoor installations or uninsulated spaces. Additionally, smart glass performs poorly in direct, intense sunlight for extended periods, as heat buildup can stress the electrochromic layer.
What warranty and support should I expect from a supplier?
Reputable suppliers offer 5–10 year warranties on the glass and 2–5 years on electrical components. Warranty typically covers manufacturing defects but not damage from improper installation or maintenance. Ensure the supplier provides clear warranty terms in writing and offers accessible customer support for troubleshooting.
Smart glass partitions elevate your office environment, combining modern aesthetics with practical functionality. By following this installation guide and working with experienced professionals, you'll ensure a reliable system that serves your workspace for years to come. Ready to explore smart glass options? Browse trusted suppliers and installers on glassy.in, India's largest glass-business directory, to find the perfect partner for your office transformation.