
Technology
Lamination on Glass: Step-by-Step Guide to Get Started
How Lamination is Done on Glass: A Step-by-Step Guide
Glass has gracefully transitioned from being purely functional to becoming a central decorative element in art, architecture, and interior design. One technique that has revolutionized the versatility of glass is lamination. Glass lamination not only enhances durability and safety but also creates endless opportunities for artistic expression, making it a favorite in architectural designs and art installations worldwide.
If you’ve ever admired the interplay of light and texture in laminated glass partitions, doors, or even artwork, you might wonder how this transformative process is carried out. In this article, we unravel the lamination process, step by step, with insights into why it’s such a pivotal practice in the realm of Art & Glass.
What is Glass Lamination?
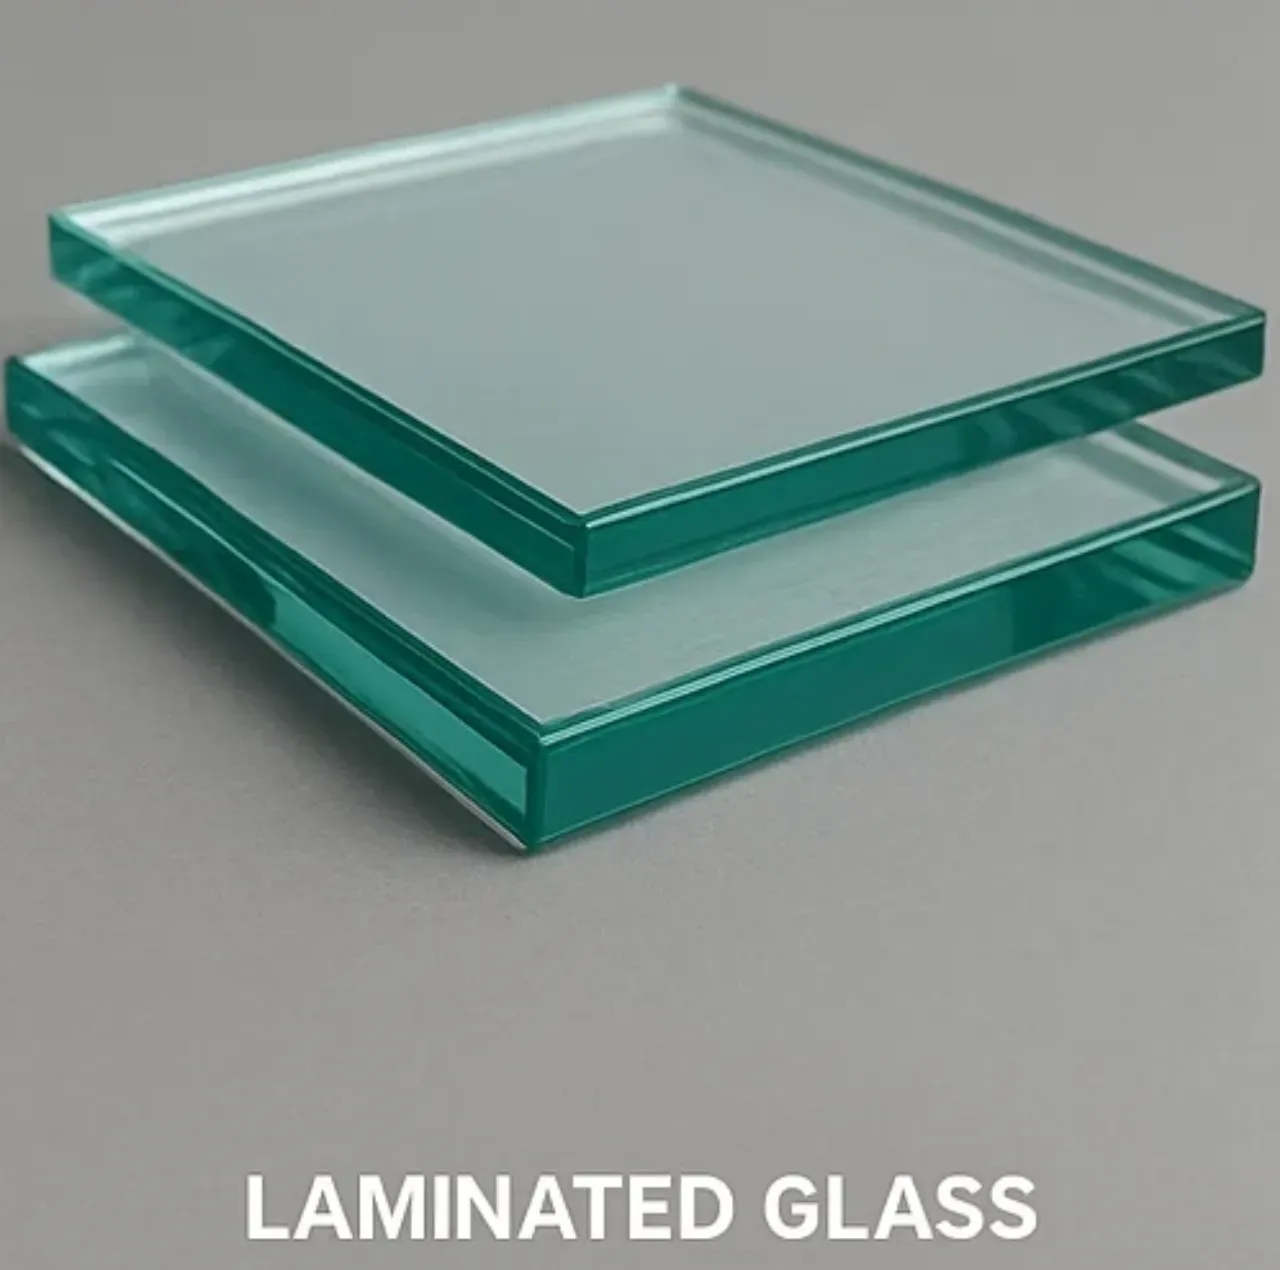
In simple terms, lamination involves bonding two or more layers of glass using an interlayer, typically made from materials like PVB (Polyvinyl Butyral) or EVA (Ethylene Vinyl Acetate). The interlayer enhances the structural integrity of the glass, making it safer and less prone to shattering. Laminated glass is widely used in applications like skylights, balustrades, office partitions, and even contemporary glass art.
Artists and architects often utilize this technology to embed patterns, textures, or decorative materials between glass layers, bringing creative visions to life.
Step-by-Step Guide to Glass Lamination
Laminating glass may sound like an intricate process, but when broken down, it’s systematically fascinating and highly rewarding. Here’s a detailed explanation of how lamination is done:
1. Preparing the Glass Surface
The first and most important step in any glass lamination process is the preparation of the glass. The glass sheets must be thoroughly cleaned to remove dust, grease, and other contaminants. Even the tiniest speck of dirt can compromise the bonding process, leading to bubbles or imperfections between the layers.
In artistic applications, the glass may undergo additional treatments, such as etching, painting, or the application of decorative films to achieve the desired aesthetic. These creative elements add flair, making laminated glass a stunning feature in the world of glass art and design.
2. Selecting the Interlayer Material
The choice of interlayer depends on the intended application. For standard safety features, PVB interlayers are typically used. For more artistic or advanced applications, such as architectural facades or decorative glass installations, EVA interlayers are gaining popularity due to their versatility and strong adhesive properties.
Additionally, this is the stage where decorative materials like fabrics, colored films, or even metal meshes can be integrated into the interlayer. These embellishments turn functional laminated glass into a centerpiece of art and design.
3. Assembling the Layers
The cleaned glass sheets are carefully stacked, with the interlayer sandwiched between them. This stage requires meticulous alignment to ensure there is no misplacement or unevenness, as even the slightest discrepancy could impact both the aesthetic and structural quality of the final product.
In decorative laminated glass, placement precision becomes critical, especially when infusing complex designs or materials between the sheets.
4. Pre-Lamination Process
Once the layers are aligned, the stack is fed into a specialized pre-lamination machine. Here, the air trapped between the glass and the interlayer is carefully removed. This step ensures that there are no air bubbles or gaps that might weaken the lamination or compromise the glass’s appearance.
Vacuum technology or rollers are commonly used in this step, creating a uniform bond between the layers.
5. Heat and Pressure Treatment
The pre-laminated glass package is then transferred to an autoclave—a machine that applies heat and high pressure to cure the interlayer material. The temperatures within the autoclave typically range between 120°C and 140°C, while the pressure can reach up to 10–15 atmospheres.
This high-temperature and high-pressure treatment ensures that the interlayer bonds the glass layers permanently and firmly. The result is a seamless, flawless sheet of laminated glass that is both beautiful and robust.
6. Finishing Touches
After the lamination process is complete, the glass edges are often trimmed to remove excess interlayer material. In some cases, the laminated glass may also undergo additional surface treatments, such as polishing or applying protective coatings, to enhance its appearance and durability.
For artistic creations, this is the moment when the transformed glass is ready to be unveiled as an elegant architectural piece or an ethereal work of Art & Glass.
Applications in Art and Architecture
Laminated glass plays a starring role in the world of design and interiors. Picture a commercial space with glass partitions embedded with intricate metallic patterns or a luxury hotel shower door featuring colorful abstract art trapped between glass layers. Such creative applications wouldn’t be possible without lamination.
Moreover, laminated glass’s combination of functionality and beauty makes it the material of choice for skylights, artistic facades, and bespoke furniture designs. Even public spaces like museums use laminated glass to showcase artwork with added protection.
For those passionate about innovative glass designs and the endless creative possibilities they present, platforms like Glassy offer excellent resources and inspiration.
Why Choose Laminated Glass?
Beyond durability, laminated glass is a canvas for creativity. Architects, interior designers, and artists leverage lamination to introduce textures, colors, and materials into their works. It’s a medium that perfectly blends function with artistry, allowing structures to look modern and sleek while meeting stringent safety standards.
If you’re considering integrating laminated glass into your projects, exploring collections and possibilities on Glassy might just spark the inspiration you need to bring your vision to life.
Final Thoughts
Glass lamination is more than just a technical process—it’s an art form that showcases the balance between functionality and aesthetics. From safety applications to breathtaking creative displays, laminated glass offers a world of possibilities for those who value both innovation and beauty.
By understanding how lamination is done, you can better appreciate the artistry and technology that goes into transforming plain sheets of glass into masterpieces of design. Whether you’re an architect aiming to enhance your projects or an artist crafting unique installations, laminated glass is a medium worth exploring.# How Lamination is Done on Glass: A Step-by-Step Guide
When it comes to enhancing the safety, durability, and aesthetic appeal of glass, lamination stands out as a transformative process. Whether you are designing a unique installation for an interior space or creating resilient glass for architectural purposes, knowing how lamination works can deepen your appreciation for this fascinating art and functional practice.
This step-by-step guide will take you through the intricate process of laminating glass, offering insights into the methods, materials, and artistry involved.
What is Glass Lamination?
Glass lamination is the process of bonding two or more layers of glass with an interlayer, typically made of materials like polyvinyl butyral (PVB) or ethylene-vinyl acetate (EVA). The result is laminated glass—a product that not only enhances safety by preventing shattering but also opens up possibilities for creative and functional design in architecture, interiors, and artworks.
Laminated glass is widely used in settings where safety is paramount, like staircases, skylights, and even art installations. Beyond safety, its optical clarity and ability to accommodate diverse materials and textures make it a staple in modern design.
Step-by-Step Process for Laminating Glass
Laminating glass is both a science and an art, requiring precision and care at every step. Here’s an overview of the process:
Step 1: Glass Selection and Preparation
The process begins with selecting the right type and size of glass panels for lamination. This step is tailored to the intended application—whether for structural use, decorative elements, or art installations. Each glass sheet is meticulously cleaned to remove any contaminants like dust, fingerprints, or grease. This ensures a flawless bond with the interlayer.
Pro Tip: Any imperfection on the glass, even a speck of dust, can mar the end result. Professional-grade cleaning solutions and techniques are commonly used during this step.
Step 2: Choosing the Interlayer Material
The interlayer acts as the “glue” that binds the layers of glass together. PVB is one of the most widely used materials due to its flexibility, clarity, and durability. For artistic purposes, EVA is often preferred because of its ability to encapsulate decorative elements like fabrics, metallic foils, or printed images.
Interlayers come in various thicknesses, and the choice depends on both functionality (e.g., soundproofing or increased strength) and design goals (e.g., creating tinted or frosted effects).
Step 3: Stacking the Layers
With the glass and interlayer ready, the stacking process begins. Usually, a single interlayer film is carefully sandwiched between two sheets of glass. For projects that incorporate elements of art and glass, additional layers could include decorative or textured elements placed between the interlayer and the glass.
This stage demands precision. Any misalignment or trapped air can disrupt the lamination process and compromise the finished product.
Step 4: Temporary Bonding
Once stacked, the layers are pre-bonded to hold them together during the main lamination process. This is typically achieved through a combination of heat and pressure. A vacuum bag or roller press is used to remove air from between the glass and interlayer, preventing bubbles from forming during the final phase.
Temporary bonding is crucial for aligning the layers and achieving a uniform thickness ahead of the autoclave process.
Step 5: Curing in the Autoclave
The stacked glass is placed inside an autoclave—a pressurized chamber that uses heat and compression to complete the lamination process. Temperatures inside the autoclave typically range between 120°C and 150°C, and pressure levels reach up to 14 bars.
This stage ensures that the interlayer melts uniformly and creates a seamless bond between the layers of glass. For decorative designs that encapsulate artistic elements, the process also preserves the integrity of the embedded materials.
Step 6: Inspection and Quality Check
After cooling, the laminated glass panels undergo a rigorous inspection to ensure they meet industry standards for strength, clarity, and uniformity. This step is especially important for glass used in architecture or art installations, where even subtle defects can distract from the overall design.
Common checks include verifying the absence of bubbles, measuring the optical clarity, and confirming the structural integrity of the laminated layers.
The Artistic Side of Glass Lamination
One of the most compelling aspects of glass lamination is how seamlessly it integrates creativity and functionality. In the world of art and glass, lamination enables designers to incorporate colors, textures, and intricate designs into durable panels that serve both aesthetic and practical purposes.
For instance, decorative laminated glass, often used in luxury interiors and architectural projects, can feature embedded materials like woven fabrics, metallic accents, or bespoke designs. This opens up limitless creative opportunities for those looking to craft unique artistic pieces or elevate the style of a modern space.
For more design inspiration and expertly crafted laminated glass solutions, visit Glassy.
Applications of Laminated Glass
Laminated glass finds its place in a variety of applications, including:
- Safe Guardrails and Balconies: The strength and shatter-resistance of laminated glass make it ideal for architectural features that demand safety without compromising on style.
- Skylights and Windows: Laminated glass blocks UV rays while maintaining clarity, making it perfect for skylights or large glass windows.
- Art Installations: Artists and designers use laminated glass to create stunning visual effects with encapsulated designs, colors, or patterns.
- Soundproof Interiors: When sound insulation is essential, such as in conference rooms or recording studios, laminated glass is an excellent choice.
Looking for tailored solutions for your next project? Explore advanced laminated glass products on Glassy.
Conclusion
Whether it’s used to create a striking artistic piece or enhance the safety and functionality of an architectural feature, glass lamination is a masterful combination of engineering and design. The step-by-step process ensures that the final product is durable, versatile, and beautiful—a true testament to the synergy between art and glass.
For anyone embarking on a project that involves laminated glass, understanding this process adds a layer of appreciation for the expertise and creativity involved. And with the right materials, techniques, and artistic vision, the possibilities are endless!