
Glass Railings
Glass Railing Installation: Step-by-Step Guide for DIY Homeowners
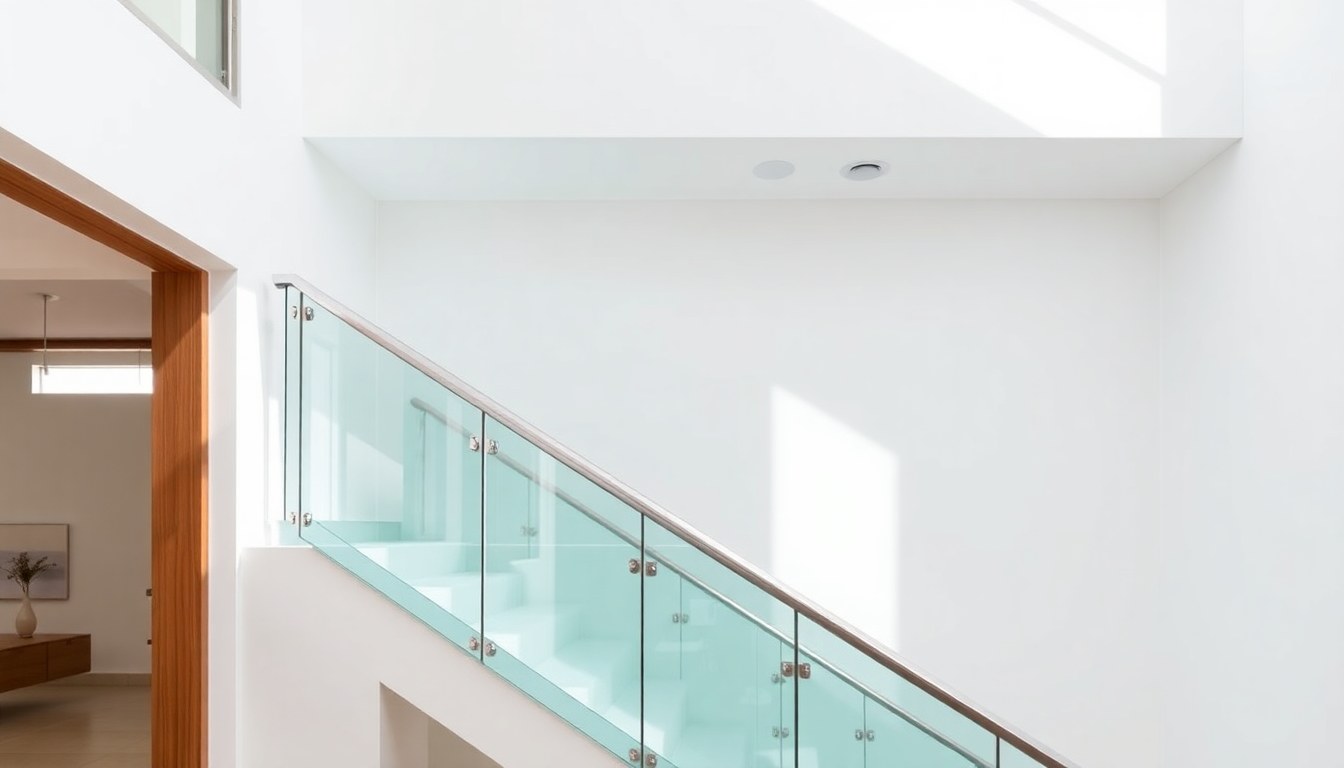
Glass railings transform staircases, balconies, and decks into modern, open spaces while maintaining safety and structural integrity. Whether you're upgrading your home or building from scratch, understanding the installation process helps you work confidently with contractors or tackle the project yourself. This guide walks you through both frameless and framed glass balustrade systems, covering measurements, clamp spacing, shoe placement, and the building codes you need to follow.
Understanding Glass Railing Types and Local Building Codes
Before you pick up a single tool, familiarize yourself with the two main glass railing systems: frameless (structural silicone or patch fittings) and framed (aluminum or steel posts). Frameless systems offer an unobstructed view but demand precise installation and quality materials. Framed systems provide easier installation and cost savings, making them popular in residential projects across India.
Building codes vary by state and municipality, but all require railings on stairs, balconies, and elevated surfaces. In India, the National Building Code (NBC) specifies that railings must be at least 1000 mm (roughly 39 inches) high, with balusters spaced no more than 100 mm apart to prevent children from getting stuck. Glass thickness typically ranges from 10 mm to 12 mm for residential applications. Check with your local municipal corporation or building authority before starting—permits may be required, and non-compliance can lead to fines or forced removal.
Tools and Materials You'll Need
Gathering the right equipment ensures a smooth installation. Here's what you'll need:
- Glass panels (10–12 mm tempered or laminated safety glass, pre-cut to size)
- Clamps or patch fittings (stainless steel, rated for your glass thickness)
- Shoes and base plates (aluminum or stainless steel)
- Fasteners (stainless steel bolts, washers, and nuts to prevent rust)
- Silicone sealant (structural-grade, UV-resistant)
- Drill with bits (masonry bits for concrete, metal bits for steel)
- Measuring tape and level
- Torque wrench (ensures clamps are tightened evenly)
- Safety equipment (gloves, safety glasses, dust mask)
Purchase materials from reputable suppliers who provide certification for tempered glass and stainless steel hardware. Working with experienced architects like Studio IN-GRID or UNiQUE ASSOCIATES can help you source quality components and verify specifications before installation begins.
Step 1: Measure and Mark Your Installation Points
Accurate measurements are the foundation of a successful installation. Start by measuring the length and height of the area where the railing will be installed. Use a level to confirm that your base surface is plumb and straight—uneven surfaces cause gaps and compromise the structural integrity of the railing.
Mark the positions where shoes (base plates) will be mounted. For a typical residential stair or balcony, space shoes every 1200 mm to 1500 mm along the run. Use a chalk line or pencil to mark these points clearly. Double-check measurements at least twice before drilling any holes.
Determining Clamp Spacing
Clamp spacing depends on glass thickness and the load the railing must support. For 10 mm glass, space clamps every 600 mm; for 12 mm glass, spacing can extend to 750 mm. Never exceed 900 mm between clamps. Mark clamp positions on the glass panels before installation if you're working with a frameless system. This prevents mistakes and ensures even load distribution.
Step 2: Prepare the Base and Install Shoes
The shoe (base plate) anchors the entire railing system to your floor, deck, or stair tread. Clean the installation surface thoroughly to remove dust, dirt, and any loose material. For concrete surfaces, use a wire brush or vacuum to ensure a clean base.
Position the shoe according to your marked points. If installing on concrete, use concrete anchors or expanding bolts rated for the load. For wood surfaces, use corrosion-resistant lag bolts. For steel surfaces, use welded connections or through-bolts with lock washers. Tighten fasteners with a torque wrench—over-tightening can crack the shoe, while under-tightening causes movement and noise.
Ensuring Proper Alignment
Use a level to verify that each shoe is perfectly plumb and level. Even a 2–3 mm deviation can cause glass panels to sit unevenly and create stress points. Adjust shoes using shims if necessary before tightening all fasteners fully.
Step 3: Install Glass Panels and Clamps (Frameless System)
For frameless railings, the glass itself bears the structural load. This requires precision and care. Begin by inserting the first glass panel into the shoe at the bottom. Some systems use a rubber gasket or silicone bed to cushion the glass—follow the manufacturer's instructions.
Slide the glass panel upward until it sits fully in the shoe. Install the first clamp near the bottom, leaving a small gap (typically 10–15 mm) between the clamp and the shoe to allow for thermal expansion. Tighten the clamp bolts gradually in a cross pattern (like tightening wheel nuts) to distribute pressure evenly. Use a torque wrench set to the manufacturer's specification—usually 8–12 Nm for residential clamps.
Install remaining clamps along the height of the glass panel, maintaining even spacing. Leave the top clamp slightly loose until the next panel is in place, which helps with alignment. Once all clamps are positioned, tighten the top clamp fully.
Applying Silicone Sealant
After the glass is secure, apply structural silicone sealant to the joints between the glass panel and the shoe, and between glass panels if they are butted end-to-end. Use a caulking gun to apply a continuous bead, then smooth it with a wet finger or caulking tool. Silicone creates a watertight seal and adds structural support. Allow 24–48 hours for curing before exposing the railing to heavy use.
Step 4: Install Framed Glass Railings
Framed systems simplify installation because the aluminum or steel frame carries most of the load. Start by installing the vertical posts (balusters) into the shoes using bolts and lock washers. Ensure posts are perfectly plumb using a level. Temporary braces can help hold posts in position while you tighten fasteners.
Once posts are secure, slide glass panels into channels or grooves in the frame. Many framed systems use rubber gaskets to cushion the glass and allow for thermal movement. Insert glass from the top if the frame design allows, or from the side depending on your system. Ensure glass sits fully in the channel before moving to the next panel.
Install top rails to connect the posts and complete the frame. Top rails are often aluminum extrusions that slide over the posts or bolt to them. Tighten all fasteners evenly, and apply silicone sealant to any exposed joints where water might penetrate.
Step 5: Final Checks and Safety Testing
Once installation is complete, perform thorough safety checks. Push firmly on the railing at multiple points along its length—it should not move, flex excessively, or make noise. Check that all fasteners are tight and that no cracks or chips are visible in the glass.
Verify that baluster spacing meets local codes (no more than 100 mm gaps). If you have a frameless system, inspect all silicone joints for gaps or voids. If installing on a staircase, test the railing on each step to ensure consistent height and support.
Take photographs of your completed installation for your records. If you applied for a building permit, the local authority may require a final inspection before the railing is approved for use.
Common Mistakes to Avoid
Even experienced installers can make errors that compromise safety or appearance. Here are the most common pitfalls:
- Skipping local code verification: Installing a railing that doesn't meet building codes can result in forced removal and fines.
- Using non-tempered glass: Regular annealed glass shatters into sharp shards. Always specify tempered or laminated safety glass.
- Over-tightening clamps: Excessive pressure cracks glass and warps metal fittings. Use a torque wrench and follow manufacturer specifications.
- Uneven clamp spacing: Spacing clamps too far apart causes glass to flex and creates stress points that lead to failure.
- Ignoring thermal expansion: Glass expands and contracts with temperature changes. Leave small gaps and use flexible sealants to accommodate this movement.
- Poor surface preparation: Dust and dirt under shoes prevent proper anchoring. Always clean the installation surface thoroughly.
When to Call a Professional
While many homeowners can handle framed glass railing installation, frameless systems require specialized knowledge and equipment. If you're uncertain about structural calculations, load ratings, or local codes, hiring a professional is wise. Architects and designers like Minimal Design Space or AKSHAR INTERIOR STUDIO bring expertise that ensures your railing is both beautiful and safe.
Professional installers also handle complex situations—curved railings, unusual angles, or installations on heritage structures—where DIY methods fall short. The cost of professional installation is often offset by the peace of mind and long-term durability it provides.
Maintenance Tips for Long-Lasting Glass Railings
Proper maintenance extends the life of your glass railing and keeps it looking pristine. Clean glass panels monthly with a soft cloth and mild glass cleaner. Avoid abrasive scrubbers that can scratch the surface. For stainless steel hardware, wipe with a damp cloth and dry thoroughly to prevent water spots.
Inspect silicone sealant annually for cracks or separation. If you notice deterioration, remove the old sealant with a caulk removal tool and apply fresh silicone. In coastal areas where salt spray is common, clean metal components more frequently to prevent corrosion. Address any loose fasteners immediately—tighten them before they cause structural issues.
Frequently Asked Questions
What is the minimum height for a glass railing?
According to India's National Building Code, railings must be at least 1000 mm (39 inches) high from the walking surface. This applies to stairs, balconies, and any elevated platform. Always verify the specific requirement with your local building authority, as some states or municipalities may have additional requirements.
Can I install a glass railing on my own, or do I need a professional?
Framed glass railings are suitable for experienced DIY homeowners with basic carpentry and drilling skills. Frameless systems require specialized knowledge, precise measurements, and understanding of structural loads—professional installation is strongly recommended for these. If you're unsure, consult a professional architect or installer to assess the complexity of your project.
How much does glass railing installation cost in India?
Costs vary widely based on glass type, system (framed vs. frameless), and location. Framed railings typically cost ₹800–₹1,500 per running meter, while frameless systems range from ₹1,200–₹2,500 per running meter. Labor costs add another 30–50% depending on the complexity and your region. Get quotes from multiple suppliers and installers for accurate pricing.
Is tempered glass safe for railings?
Yes, tempered glass is the standard safety choice for railings. It is heat-treated to be four to five times stronger than regular glass. If tempered glass breaks, it shatters into small, relatively harmless granules rather than sharp shards. Laminated glass, which bonds two panes with a plastic interlayer, is also safe and offers additional sound dampening.
How do I maintain my glass railing to prevent discoloration?
Clean glass panels every month with a soft microfiber cloth and a mild glass cleaner. For hard water stains, use a 50/50 vinegar and water solution. Avoid acidic or abrasive cleaners that can damage the glass or sealant. For stainless steel hardware, wipe with a damp cloth and dry immediately. In humid or coastal climates, inspect sealant more frequently and reapply as needed.
Connect With Glass Railing Experts on Glassy.in
Installing a glass railing is a significant home improvement project that combines aesthetics, safety, and structural integrity. Whether you're tackling a DIY installation or seeking professional guidance, Glassy.in connects you with India's most trusted glass businesses, architects, and interior designers. Browse our directory to find specialists in your area who can supply quality materials, offer design consultation, or handle the complete installation. Your dream glass railing is just a few clicks away—explore Glassy.in today.