
Glass Partitions
Frameless Glass Partition Installation in Hyderabad: Step-by-Step Guide
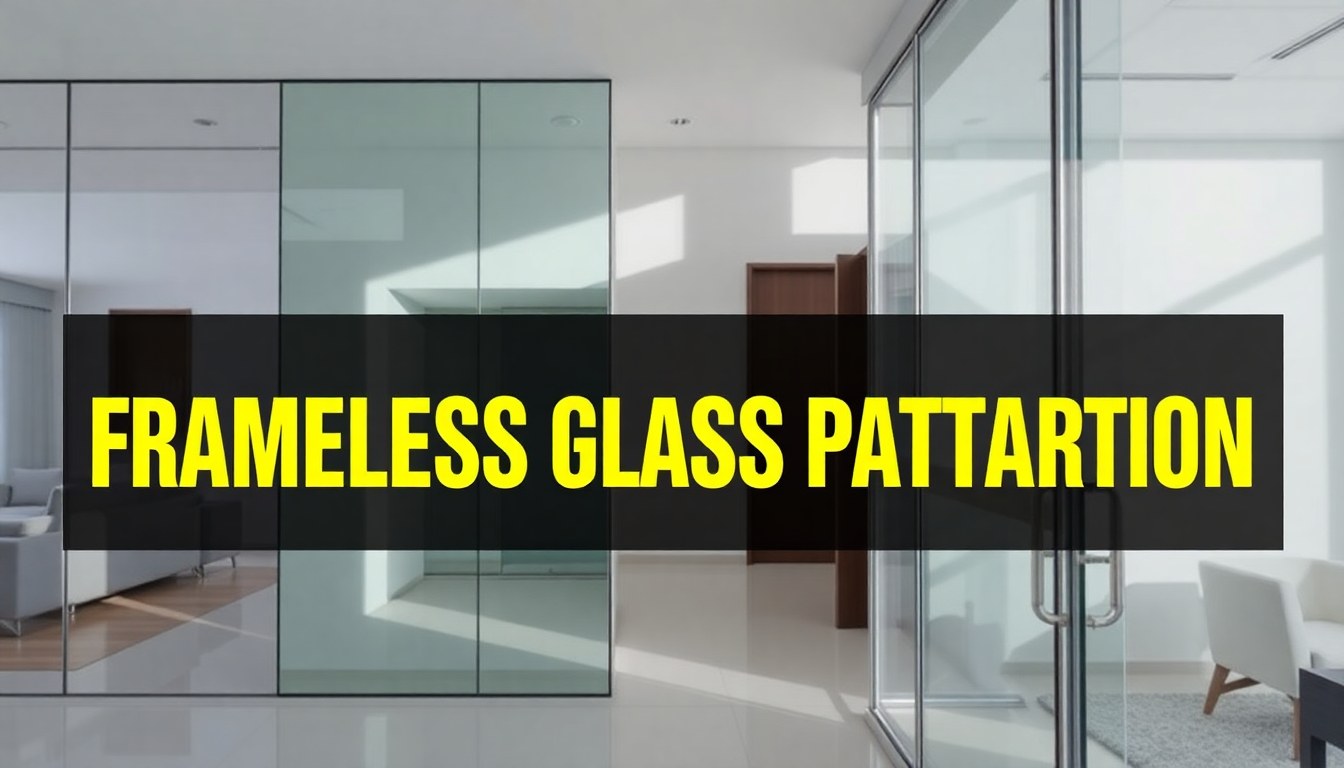
Frameless glass partitions have become the hallmark of contemporary office and residential design in Hyderabad, offering a clean, minimalist aesthetic while maximizing natural light and spatial flexibility. Whether you're renovating a corporate office, creating a home office, or dividing a commercial space, understanding the installation process ensures a professional finish and long-term durability. This guide walks you through every step of frameless glass partition installation, from initial wall preparation to final hardware adjustments.
Understanding Frameless Glass Partition Systems
Frameless glass partitions consist of tempered glass panels held in place by minimal metal hardware—typically aluminum tracks, patch fittings, and pivot hinges. Unlike framed partitions, the glass itself becomes the structural and aesthetic focal point. The system relies on precision engineering and high-quality materials to create a seamless, professional appearance.
In Hyderabad's humid climate, choosing the right glass thickness and hardware finish is critical. Standard frameless partitions use 10mm or 12mm tempered glass, which provides both strength and safety. The aluminum components should be powder-coated or anodized to resist moisture and corrosion. When planning your installation, consult with specialists like The Edge Glass and Aluminum or Beauty Glass Pvt Ltd who understand local environmental requirements.
Step 1: Wall Preparation and Structural Assessment
Before any glass is cut or hardware is ordered, assess the walls where the partition will be installed. Frameless systems require solid, level surfaces. Use a laser level to check both vertical and horizontal alignment across the wall. Any deviation of more than 3mm over a 2-meter span will affect the final appearance and function of the partition.
Check for existing electrical outlets, plumbing, or HVAC ducts that might interfere with the partition line. Mark these clearly on your floor plan. If the wall is uneven or damaged, repair and prime it before installation. For concrete walls common in Hyderabad buildings, ensure the surface is clean and free of dust using a wire brush and vacuum. For drywall, patch any holes and sand smooth. Allow any primers or sealers to cure fully—typically 24 hours—before proceeding.
Measuring and Marking Guidelines
- Measure floor-to-ceiling height at multiple points (minimum three locations)
- Mark the partition line on the floor using chalk or a laser guide
- Identify stud locations behind drywall using a stud finder
- Mark anchor points for top and bottom tracks with pencil
- Take photographs of the marked layout for reference during installation
Step 2: Installing Top and Bottom Tracks
The top and bottom aluminum tracks form the backbone of your frameless partition system. These tracks guide the glass panels and distribute weight evenly. Begin with the bottom track, as it establishes the baseline for the entire installation.
Apply a continuous bead of construction adhesive along the floor where the bottom track will sit. For extra stability in high-traffic areas, use mechanical fasteners—typically 50mm anchors spaced every 300mm—in addition to adhesive. Slide the track into position and use a level to ensure it's perfectly horizontal. Press firmly and allow the adhesive to set for at least 2 hours before moving forward.
Install the top track next, ensuring it's directly above the bottom track. Use a plumb line or laser level to verify perfect vertical alignment. The top track should be secured to the ceiling or header beam with appropriate fasteners—typically M8 or M10 bolts into concrete, or lag bolts into wooden beams. Space fasteners every 400-500mm. Tighten all fasteners firmly but avoid over-tightening, which can distort the aluminum profile.
Step 3: Glass Panel Handling and Positioning
Tempered glass is strong but brittle; improper handling during installation causes costly damage and safety hazards. Always use proper lifting equipment—never attempt to carry large glass panels by hand. Rent or use a glass-handling vacuum lifter, which distributes pressure evenly and prevents edge damage.
Before lifting, inspect each glass panel for defects, edge chips, or stress marks. Document any pre-existing damage with photographs. Transport panels vertically, not flat, to minimize stress on the glass. Store panels in a dry, protected area at the installation site, leaning against a wall at a slight angle with rubber spacers between each panel.
Inserting Glass into Tracks
Begin with the first panel, which typically sits in the fixed position. Apply a thin bead of silicone sealant into the bottom track channel. Carefully lower the glass panel into the bottom track using the vacuum lifter, ensuring the edges align with the track channel. The panel should slide smoothly without binding.
Once the bottom is seated, guide the top edge into the overhead track. This requires coordination—one person manages the vacuum lifter while another guides the top edge. Move slowly and deliberately to avoid sudden shifts. Once fully seated, check that the panel sits evenly in both tracks with consistent gaps on both sides.
Step 4: Installing Hardware and Patch Fittings
Patch fittings—the metal connectors visible on the glass surface—provide both structural support and aesthetic definition. These stainless steel or aluminum components connect panels to tracks and to each other. Precise positioning is essential for a professional appearance.
Mark patch fitting locations on the glass using a washable marker, typically at 1200mm intervals for vertical supports and at the top and bottom corners. Drill mounting holes through the glass using a diamond-core drill bit and a low-speed drill with water cooling. The water serves two purposes: it prevents the glass from overheating and cools the drill bit, extending its life.
Install patch fittings using stainless steel fasteners, tightening them snugly but not excessively. Overtightening compresses the rubber gaskets inside the fittings and can crack the glass. For pivot-hinged doors, install the pivot hinge assembly at the top and bottom of the door panel, ensuring perfect vertical alignment before tightening.
Step 5: Sealing and Finishing Touches
Proper sealing prevents moisture ingress—critical in Hyderabad's monsoon season—and improves acoustic performance. Use a high-quality neutral-cure silicone sealant, which doesn't off-gas acidic fumes that damage hardware. Apply sealant to all joints where glass meets metal, including the perimeter where the partition meets the floor and ceiling.
Run a wet finger or silicone tool along each bead of sealant to create a smooth, professional finish. Wipe excess sealant immediately with a damp cloth. Allow sealant to cure for 48 hours before exposing the partition to water or heavy use. For commercial spaces, consider consulting with design professionals like Design Affairs to ensure your installation meets code requirements and aesthetic standards.
Final Checks and Adjustments
- Verify all hardware is tight and fasteners are fully seated
- Test door panels for smooth operation and proper closure
- Check that glass panels sit evenly in tracks with no binding
- Inspect all sealant lines for continuity and proper coverage
- Clean glass surfaces with appropriate glass cleaner to remove installation residue
- Adjust patch fittings if any gaps appear between glass and hardware
Common Installation Challenges in Hyderabad
Hyderabad's climate and building characteristics present specific challenges. High humidity can cause aluminum to expand slightly; allow for micro-gaps in your sealant to accommodate this movement. Older buildings often have uneven floors and ceilings; invest in shims and adjustment hardware to compensate for these variations.
Power cuts and monsoon rains can delay installation timelines. Schedule your project during the dry season (November to March) if possible. Dust from construction activity in Hyderabad can interfere with sealant curing; maintain a clean installation area and cover exposed sealant with plastic sheeting during the curing period.
If you're working with interior designers or architects, firms like Smiley Interiors or Swan Interiors can coordinate the partition installation with your overall design scheme and ensure all systems integrate seamlessly.
Tools and Materials Checklist
Proper tools ensure efficient, professional installation. Here's what you'll need:
- Measurement tools: Laser level, measuring tape, plumb bob, chalk line
- Drilling equipment: Diamond-core drill bit, low-speed drill with water system, drill stand
- Fastening tools: Socket wrench set, torque wrench, cordless drill
- Sealing supplies: Silicone sealant, caulking gun, sealant tool, painter's tape
- Safety equipment: Safety glasses, gloves, dust mask, ear protection
- Glass handling: Vacuum lifter, glass carrying racks, rubber spacers
- Cleaning: Glass cleaner, microfiber cloths, squeegee
Frequently Asked Questions
How long does frameless glass partition installation typically take?
Installation time depends on the project scope. A single partition wall in a residential space typically takes 2-3 days, including wall preparation, track installation, glass positioning, and sealant curing. Larger commercial projects with multiple panels and doors may require 1-2 weeks. The longest phase is usually sealant curing—a full 48 hours before the partition can be fully used.
Can frameless glass partitions be installed in older Hyderabad buildings?
Yes, but with careful assessment. Older buildings often have uneven walls and ceilings. Use adjustable shims and precision leveling during track installation to compensate for these variations. Structural assessment is essential; ensure walls can support the weight and fastening requirements. Consult with specialists like Modi Glass Centre who have experience with Hyderabad's diverse building stock.
What's the difference between 10mm and 12mm tempered glass for partitions?
Both are strong and safe, but 12mm glass offers superior acoustic insulation and better resistance to impact in high-traffic areas. It's slightly more expensive but recommended for commercial offices and conference rooms where sound control matters. 10mm is adequate for residential spaces and lighter-use areas. Both require the same installation process.
How do I maintain frameless glass partitions in Hyderabad's humid climate?
Regular cleaning with a microfiber cloth and mild glass cleaner maintains clarity. Wipe down aluminum hardware monthly with a dry cloth to prevent moisture accumulation. Inspect sealant lines annually; if any gaps appear, apply fresh silicone sealant. In monsoon season, ensure drainage holes in bottom tracks remain clear. Avoid acidic or abrasive cleaners that damage aluminum finishes.
Do I need permits for frameless glass partition installation in Hyderabad?
For commercial spaces, check with your local municipal authority or building management. Many commercial buildings require approval for structural modifications. Residential installations typically don't require permits unless they involve load-bearing walls. When in doubt, consult with architects or design firms who understand Hyderabad's building codes.
Next Steps: Find Installation Specialists in Hyderabad
While this guide covers the technical installation process, working with experienced professionals ensures optimal results and compliance with local standards. Whether you're designing a corporate office, home workspace, or commercial showroom, the specialists listed on glassy.in can help you source materials, coordinate design, and execute professional installation. Browse our directory of glass suppliers and interior designers in Hyderabad to find the right partner for your frameless glass partition project today.