
Glass Railings
Glass Railing Installation on Curved Balconies: Engineering & Design
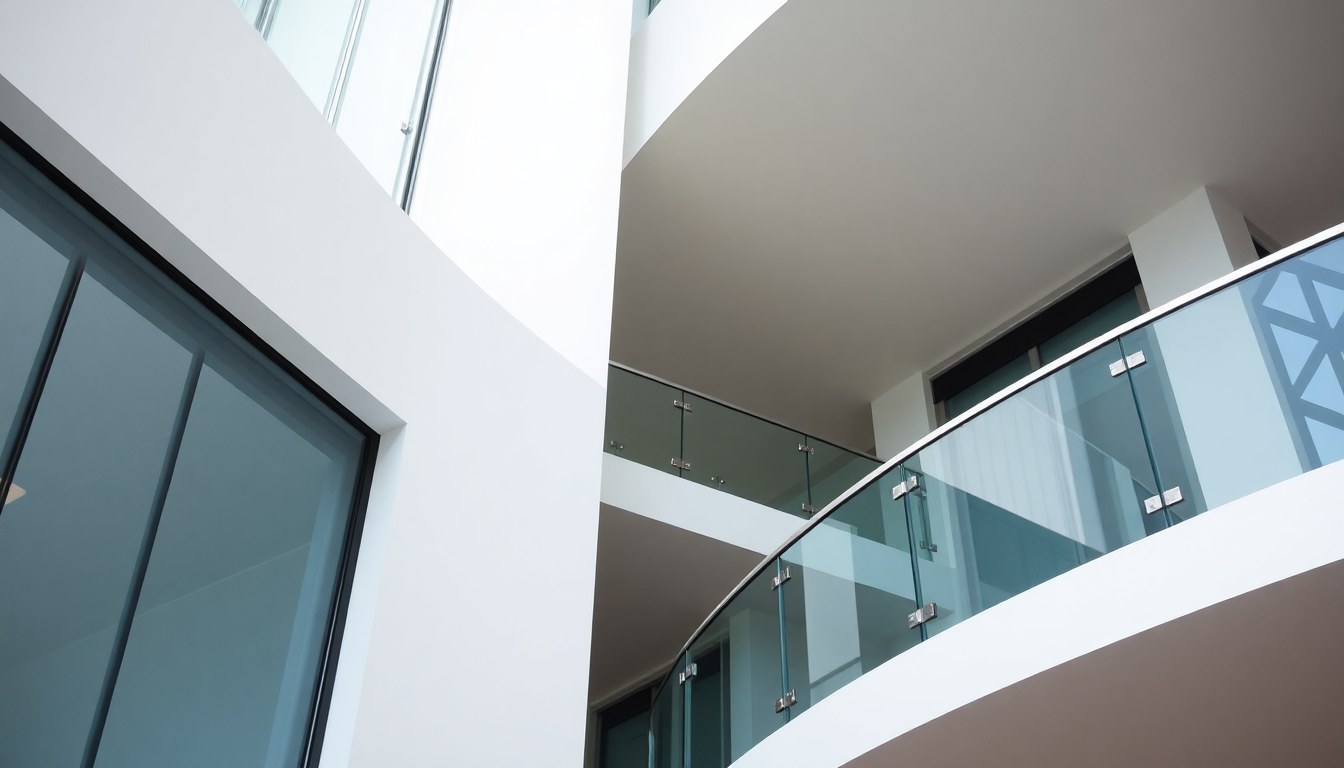
Installing glass railings on curved balconies is fundamentally different from fitting them on straight edges—it requires custom engineering, precise measurement, and structural planning that goes beyond standard installation methods. If you're designing a modern home or commercial space with curved architecture, understanding how to properly mount frameless or semi-frameless glass railings on non-linear surfaces is essential to ensure safety, durability, and aesthetic appeal.
Why Curved Balconies Demand Specialized Installation
Curved balconies present unique structural and design challenges that straight railings cannot solve with off-the-shelf solutions. The continuous curve means every section of the railing experiences different angles, load distributions, and mounting points. Unlike traditional straight balconies where you can install identical posts at regular intervals, curved installations require custom calculations for each segment.
The primary concern is load distribution. Building codes across India, including those outlined in the National Building Code (NBC), mandate that railings withstand horizontal loads of 1.2 kN/m (approximately 120 kg per linear meter) applied at the top rail. On a curve, this load must be distributed smoothly without creating stress concentrations at any point. Improper installation can lead to premature failure, safety hazards, and costly repairs.
Pre-Installation Planning and Measurements
Before ordering materials or scheduling installation, you need precise documentation of your curved balcony's geometry. This step cannot be skipped or approximated—poor measurements lead to ill-fitting railings, gaps, and structural problems.
Taking Accurate Measurements
Begin by measuring the radius of curvature. Use a flexible measuring tape or, better yet, hire a surveyor or structural engineer to determine the exact arc. Record the total length of the curve, the degree of curvature (measured in radius), and the height at multiple points along the balcony edge. If the curve is not a perfect arc—such as an elliptical or freeform shape—document reference points every 30-50 cm along the edge.
Document the existing structure: Is the balcony slab reinforced concrete, steel, or composite? Are there existing posts or anchor points? What is the condition of the edge? These details inform whether you'll need to install new posts, use edge-mounted systems, or employ a combination approach. Take photographs from multiple angles and create a scaled drawing or digital model if possible.
Engaging Architects and Structural Engineers
This is non-negotiable. Before installation, obtain approval from a qualified architect or structural engineer registered with the Council of Architecture (CoA) in India. They will review your balcony's load-bearing capacity, design the railing system to meet NBC codes, and issue a structural design certificate. This certificate is mandatory for approval from local building authorities and essential for insurance and resale purposes.
Aescon Builders & Architects and similar firms listed on glassy.in can connect you with qualified professionals who understand both architectural aesthetics and structural requirements for curved glass installations.
Custom Mounting Systems for Curved Balconies
Curved balconies typically employ one of three mounting strategies: post-based systems, edge-mounted systems, or hybrid approaches. The choice depends on your balcony's structure, the degree of curvature, and aesthetic preferences.
Post-Based Mounting
This traditional approach involves installing vertical posts along the curve at calculated intervals. Unlike straight balconies where posts are 1.2–1.5 meters apart, curved installations may require closer spacing (0.9–1.2 meters) to manage the curve smoothly and maintain structural integrity. Each post must be:
- Positioned perpendicular to the tangent of the curve at its location (not vertical, but radially aligned)
- Anchored into the balcony slab with stainless steel bolts (minimum M16 grade 8.8) set into concrete with chemical anchors or expansion anchors
- Spaced to ensure glass panels between posts don't exceed safe span limits (typically 1.5 meters for 12mm tempered glass)
Posts can be stainless steel (304 or 316 grade for coastal areas), aluminum, or even frameless—where the glass itself is the primary structural element, supported by clamps and channels at top and bottom.
Edge-Mounted Systems
For seamless, frameless aesthetics, edge-mounted systems attach the glass directly to the balcony edge using specialized clamps and channels. This approach works well for gentle curves but becomes challenging for tight radius curves. The glass panel edges are secured using:
- Bottom rail channels bolted to the slab edge
- Top rail channels attached to an overhead structure or canopy
- Side clamps or U-channels at regular intervals along the curve
The advantage is an unobstructed view and modern appearance. The challenge is ensuring the clamps flex with the curve without creating weak points. Specialized curved channels, custom-bent by manufacturers, are often required.
Hybrid Approaches
Many curved installations combine posts with edge-mounted sections. For example, you might use posts at the tightest part of the curve (where structural demands are highest) and edge-mounted glass for gentler sections. This balances structural safety with aesthetic flexibility.
Glass Selection and Specifications
The glass itself must be engineered for the specific loads and curvature of your balcony. Standard specifications for curved balcony railings in India include:
- Thickness: 12mm tempered glass is standard for residential balconies; 15mm or laminated glass for higher loads or commercial spaces
- Tempering: All glass must be fully tempered (not annealed) to meet NBC safety requirements and provide post-breakage safety
- Lamination: Consider laminated glass (12mm tempered + 12mm tempered with PVB interlayer) for additional safety and noise reduction
- Tinting: Reflective or tinted glass can reduce heat gain in warm climates but may affect structural calculations
- Height: Minimum 1.1 meters above the finished floor level; often increased to 1.2–1.5 meters for aesthetic balance on curved balconies
Curved glass panels are more expensive than straight ones because they must be custom-cut and tempered. Expect to pay 30–50% more for curved panels compared to standard straight panels. Sourcing from established manufacturers on glassy.in ensures the glass meets Indian Standards (IS 2553 for safety glass) and comes with proper certification.
Installation Process: Step-by-Step
Once structural approval is in place and materials are sourced, the installation follows a methodical sequence:
Step 1: Prepare the Balcony Edge
Clean and level the balcony edge or slab surface where railings will be mounted. If using post-based systems, mark post locations using the engineer's drawings. Drill pilot holes and install chemical anchors or expansion anchors. Allow chemical anchors to cure fully (typically 24 hours) before proceeding.
Step 2: Install Base Rails and Posts
Install bottom rail channels or post bases, ensuring they follow the curve precisely. Use a laser level or transit to verify height and alignment. Bolt all connections to the specified torque (typically 80–120 Nm for M16 bolts). Install vertical posts, checking that each is radially aligned with the curve's center.
Step 3: Fit Glass Panels
Glass panels are lifted into place and secured using clamps or channels at the top and bottom. For curved installations, this often requires temporary bracing to hold panels at the correct angle while fasteners are tightened. Work methodically along the curve, checking alignment and gaps as you progress. Gaps should be uniform (typically 3–5mm for thermal expansion) and measured with a feeler gauge.
Step 4: Install Top Rails and Caps
Once all glass is secured, install top rails and aluminum or stainless steel caps. These provide both structural support and finished aesthetics. Top rails must be firmly anchored to posts or the overhead structure.
Step 5: Final Inspection and Testing
Conduct a thorough inspection: Check all bolts for tightness, verify that glass is secure and free of cracks, test horizontal load resistance (push firmly on the railing—it should not flex excessively), and inspect sealants and gaskets for proper installation. Have the structural engineer or architect conduct a final inspection and sign off on the work.
Common Challenges and Solutions
Curved balcony installations often encounter predictable problems. Being aware of these helps you avoid costly mistakes:
- Gaps and Misalignment: Caused by inaccurate measurements or improper post spacing. Solution: Use digital surveying tools and verify measurements twice before ordering custom glass.
- Water Leakage: Curves can trap water if sealants are not properly applied. Solution: Use high-quality silicone sealants (not acrylic) and ensure proper slope toward drainage points.
- Thermal Stress: Curved glass expands and contracts differently than straight glass. Solution: Allow adequate expansion gaps and use flexible sealants, not rigid adhesives.
- Structural Deflection: Excessive movement under load indicates undersized posts or improper anchoring. Solution: Engage a structural engineer to verify calculations and upgrade components if needed.
- Visual Distortion: Curved glass can create optical distortion, making the balcony appear warped. Solution: Use high-clarity, low-iron glass and ensure glass thickness is consistent.
Cost Estimates for Curved Balcony Glass Railings
Pricing varies significantly based on location, curvature radius, height, and material choices. In India, you can expect:
- Simple curved railing (gentle arc, 10–15 meters): ₹80,000–₹150,000
- Medium complexity (tighter radius, 15–25 meters): ₹150,000–₹300,000
- High complexity (very tight radius, frameless, premium materials): ₹300,000–₹600,000+
These estimates include design, materials, installation labor, and structural engineer certification. Always obtain detailed quotations from multiple vendors and ensure they include all structural support, anchoring hardware, and sealants.
Regulatory Compliance and Approvals
Before installation begins, ensure compliance with:
- National Building Code (NBC): Mandatory height, load-bearing, and safety requirements
- Local Building Bylaws: Varies by city; check with your municipal corporation or local authority
- Indian Standards: IS 2553 (safety glass), IS 2911 (structural steel), and IS 456 (reinforced concrete)
- Insurance Requirements: Some insurers require third-party structural certification
Obtain written approval from local building authorities before commencing work. After installation, request a completion certificate from the structural engineer and retain all documentation for future reference.
Maintenance Tips for Curved Glass Railings
Curved railings require slightly different maintenance than straight ones due to water accumulation in the curve:
- Clean glass monthly with mild soap and water; avoid abrasive cleaners that scratch tempered glass
- Inspect sealants annually and reseal if cracks or gaps appear
- Check all bolts and fasteners annually; tighten if loose
- Clear debris from the curve's lowest point to prevent water pooling
- In coastal areas, rinse with fresh water quarterly to remove salt deposits
Frequently Asked Questions
Can I install a curved glass railing without an architect's approval?
Technically, you can attempt installation without approval, but it is not advisable and may be illegal depending on your local building bylaws. Architect approval ensures your railing meets safety codes, can withstand required loads, and is properly anchored. Without approval, you face liability if someone is injured, difficulty obtaining insurance, and rejection by building authorities during inspection. Always hire a qualified architect or structural engineer before proceeding.
How much more expensive is a curved railing compared to a straight one?
Curved railings typically cost 40–60% more than equivalent straight railings because custom measurements, engineering, and curved glass panels are required. The exact premium depends on the tightness of the curve and the complexity of the balcony geometry. Gentle curves cost less than tight radius curves.
What is the minimum radius of curvature that can accommodate a glass railing?
There is no absolute minimum, but practical constraints exist. Radii tighter than 2–3 meters become difficult to fit with standard glass panels and may require specialized curved glass, significantly increasing cost. Most residential curved balconies have radii of 5–15 meters, which are manageable with standard installation methods and custom post spacing.
How long does installation typically take?
A curved railing installation usually takes 3–7 days depending on complexity, weather, and the curing time for chemical anchors. Simple gentle curves may be completed in 3–4 days, while tight radius or very long curves can take 1–2 weeks. Always allow extra time for structural engineer inspections and approvals.
Can curved glass railings be repaired if damaged?
Small damage such as scratches or minor cracks in edge areas can sometimes be repaired, but structural cracks or breakage typically require full panel replacement. Tempered glass cannot be cut or modified after tempering, so you must order replacement panels from the original manufacturer or a compatible supplier. This underscores the importance of sourcing from reputable vendors who can supply replacement panels years later.
Conclusion and Next Steps
Curved balcony glass railings elevate the aesthetic and functional value of your property, but they demand precision engineering and careful planning. By following the steps outlined above—accurate measurement, structural engineer approval, proper material selection, and methodical installation—you can achieve a beautiful, safe, and durable railing system that complies with all Indian building codes.
Ready to begin your curved balcony railing project? Explore the glassy.in directory to connect with experienced glass manufacturers, structural engineers, and installation specialists in your region. Whether you need architectural consultation, custom glass fabrication, or professional installation, glassy.in connects you with verified businesses that understand the nuances of curved installations.