
Mirrors
Mirrored Glass Splashbacks for Kitchens: Installation & Maintenance Tips
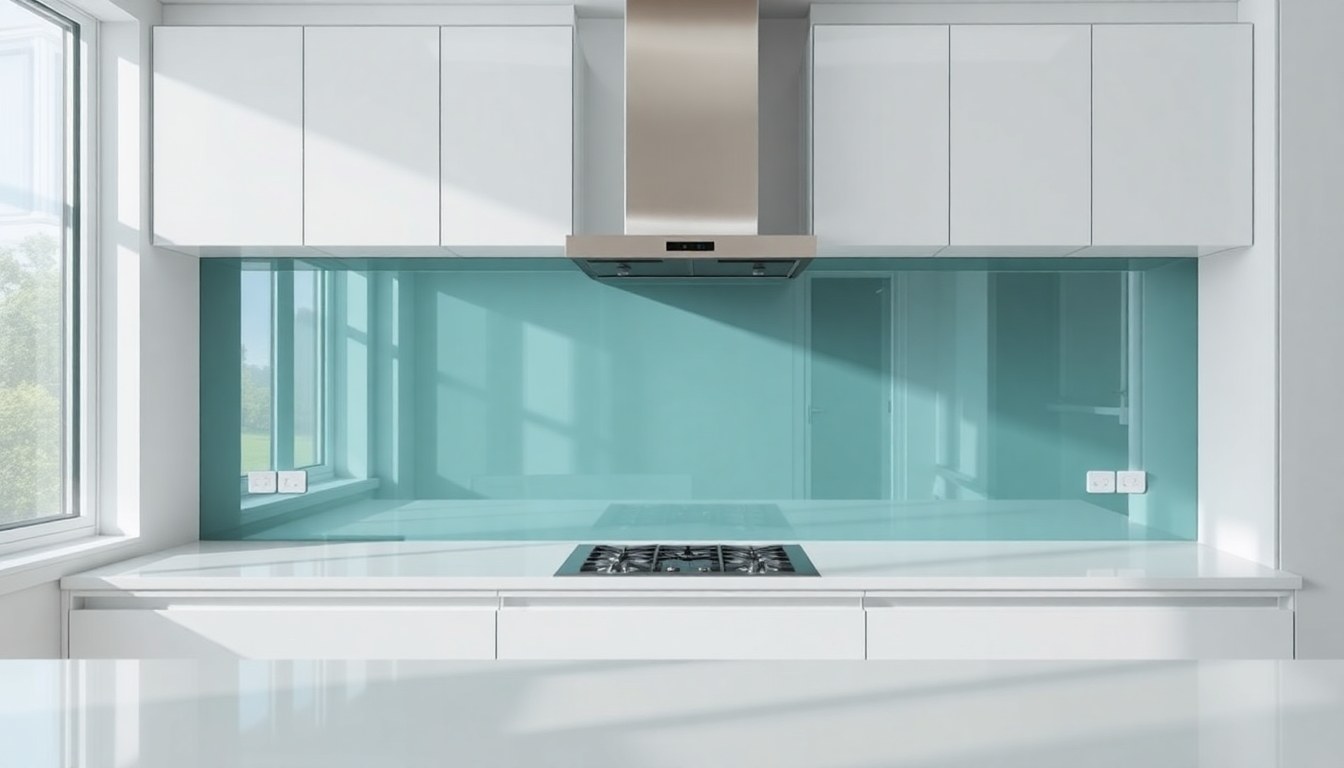
Mirrored glass splashbacks transform kitchens by reflecting light, creating an illusion of space, and adding a contemporary aesthetic that appeals to modern Indian homeowners. However, installing them correctly and maintaining their reflective surface requires careful planning, the right materials, and consistent care. This guide walks you through everything you need to know about choosing, installing, and maintaining mirrored glass splashbacks in your kitchen.
Why Choose Mirrored Glass Splashbacks?
Mirrored glass splashbacks serve both functional and aesthetic purposes in kitchen design. They protect walls from water splashes, oil splatters, and heat while making the kitchen appear brighter and more spacious—a crucial advantage in compact Indian homes. The reflective quality bounces natural and artificial light around the room, reducing the need for additional lighting and creating a sophisticated, upscale look.
Beyond aesthetics, mirrored splashbacks are hygienic and easy to clean compared to traditional tile or paint. They resist moisture absorption, prevent mold growth, and maintain their appearance for years with proper care. For kitchens in humid climates like those in coastal Indian cities, this durability is particularly valuable.
Choosing the Right Mirrored Glass for Your Kitchen
Not all mirror glass is suitable for kitchen environments. Standard decorative mirrors can deteriorate when exposed to heat, steam, and moisture. For kitchen splashbacks, you need specially treated mirror glass that withstands these conditions.
Types of Mirrored Glass for Kitchens
- Copper-backed mirrors: Traditional mirrors with copper backing, affordable but prone to corrosion in humid kitchens.
- Silver-backed mirrors with protective coatings: More durable than copper, with added sealant layers to resist moisture and heat.
- Aluminum-backed mirrors: Superior moisture resistance, ideal for kitchens with high humidity. More expensive but longer-lasting.
- Heat-resistant mirrored glass: Specially manufactured to withstand temperatures up to 80°C (176°F), preventing delamination and discoloration.
When purchasing mirrored glass in India, source from established glass suppliers who provide warranties. Expect to pay between ₹500 to ₹2,000 per square foot depending on glass quality, thickness, and backing type. Always request samples and check the backing certification before ordering large quantities.
Pre-Installation Preparation and Planning
Proper preparation ensures your mirrored splashback installation is successful and long-lasting. Start by measuring your splashback area accurately, accounting for outlets, switches, and any architectural irregularities. Most kitchens require splashbacks between 30 to 60 cm in height, though this varies based on your stove location and design preference.
Surface Preparation
The wall surface must be clean, dry, level, and smooth before installation. Remove existing tiles, paint, or wallpaper completely. Fill any holes or cracks with wall putty and sand smooth. A level, even surface is critical—mirrors amplify imperfections, making uneven walls visible. Use a spirit level to check the wall's flatness across the entire splashback area. If the wall is significantly uneven, consider installing a plywood backing or using leveling compound.
Ensure the wall is completely dry before starting installation. In humid Indian climates, allow at least 48 hours of drying time after any wet work. Install a moisture barrier or waterproofing membrane on the wall to prevent water penetration behind the mirror, which can cause backing deterioration and mold growth.
Gathering Tools and Materials
- Mirrored glass sheets (pre-cut or custom-sized)
- Specialized mirror adhesive (silicone-based, not regular tile adhesive)
- Waterproofing sealant or membrane
- Glass spacers and shims
- Silicone sealant for edges and joints
- Spirit level, measuring tape, and glass cutter (if needed)
- Safety equipment: gloves, safety glasses, and dust mask
- Caulking gun for adhesive application
Step-by-Step Installation Guide
Installing mirrored glass splashbacks requires precision and patience. Rushing the process can result in misalignment, air bubbles, or premature failure.
Adhesive Application
Use a mirror-specific adhesive, typically silicone-based, which remains flexible and doesn't damage mirror backing. Avoid tile adhesive or cement-based products, which can corrode the mirror backing and cause delamination. Apply adhesive in vertical strips or dots across the back of the mirror, spacing them 15-20 cm apart. This pattern prevents air pockets while allowing slight movement to accommodate temperature changes.
Positioning and Leveling
Carefully position the mirrored glass sheet on the prepared wall, starting from the bottom corner. Press firmly and use spacers to maintain consistent gaps between sheets if installing multiple pieces. Check alignment with a spirit level immediately after placement. Adjust the position within the first 10-15 minutes before adhesive sets. Support the mirror with temporary props or shims while the adhesive cures, typically 24-48 hours.
Sealing Joints and Edges
Once the adhesive is fully cured, seal all joints and edges with waterproof silicone sealant. This prevents water penetration behind the mirror and protects the backing from moisture damage. Apply sealant in a continuous bead along the top, sides, and bottom edges. Smooth the sealant with a wet finger or caulking tool for a professional finish. Allow sealant to cure for 24 hours before exposing the splashback to water or steam.
Protecting Mirrored Glass from Heat Damage
Heat is the primary enemy of mirrored glass in kitchens. Direct exposure to high temperatures can cause the mirror backing to delaminate, resulting in black spots, clouding, or complete deterioration.
Heat Protection Strategies
- Install a heat shield: Place a thin metal or ceramic barrier between the stove and mirror to deflect radiant heat.
- Maintain distance: Position the splashback at least 30 cm above the stove top, further if possible.
- Use heat-resistant glass: Choose mirrored glass specifically rated for heat resistance, capable of withstanding sustained temperatures up to 80°C.
- Ensure proper ventilation: Install a range hood that effectively removes steam and heat away from the splashback.
- Avoid direct flame: Never place open flames directly against the mirror surface.
In Indian kitchens where gas stoves are common, heat exposure is particularly significant. Consider installing a stainless steel or aluminum frame around the mirrored splashback to distribute heat more evenly and protect the mirror edges, which are most vulnerable to heat damage.
Maintenance and Long-Term Care
Regular maintenance keeps your mirrored splashback looking pristine and extends its lifespan significantly. The key is preventing water and moisture from accumulating behind or around the mirror.
Daily and Weekly Cleaning
Wipe the mirror surface daily with a soft, dry cloth to remove dust and splashes. For stubborn stains or grease, use a glass cleaner diluted with water or a 50-50 vinegar-water solution. Spray the cleaner on the cloth, not directly on the mirror, to prevent liquid from running behind the glass. Avoid abrasive scrubbers or harsh chemicals that can scratch or damage the mirror backing. Never use acidic cleaners on the edges where sealant is present, as they can degrade the waterproof seal.
Moisture Management
In humid Indian climates, moisture management is essential. Ensure your kitchen has adequate ventilation—run the exhaust fan during and for 15-20 minutes after cooking. Wipe down the splashback after cooking to remove steam condensation. Check the silicone sealant monthly for cracks or deterioration. If you notice any gaps or separation between the mirror and wall, reseal immediately to prevent water infiltration.
Addressing Common Issues
Black spots or clouding on the mirror indicate backing deterioration, typically caused by moisture penetration. Unfortunately, this damage is permanent and requires mirror replacement. To prevent this, maintain the waterproof sealant and ensure proper ventilation. If you notice the mirror edges lifting or separating from the wall, apply new mirror adhesive and reseal immediately. Cracks in the mirror itself require professional glass replacement; attempting DIY repairs can be dangerous and ineffective.
Cost Considerations for Indian Homeowners
The total cost of installing a mirrored glass splashback in an Indian kitchen varies based on size, glass quality, and labor rates in your region. A typical 1.5 x 0.6 meter splashback using standard silver-backed mirror costs between ₹8,000 to ₹20,000 for materials, plus ₹5,000 to ₹15,000 for professional installation. Heat-resistant or aluminum-backed mirrors cost 30-50% more but offer superior durability.
Hiring a professional installer is strongly recommended. Improper installation can void warranties and lead to costly repairs. In major Indian cities like Mumbai, Bangalore, Delhi, and Pune, experienced glass installers are readily available through local directories and online platforms.
Frequently Asked Questions
Can I install a mirrored glass splashback over existing tiles?
Installing a mirrored splashback over existing tiles is not recommended. Tiles create an uneven surface that causes mirrors to warp or separate. Remove all existing tiles, clean the wall thoroughly, and prepare a smooth, level surface. This ensures proper adhesion and long-term durability of your mirrored splashback.
How long does a mirrored glass splashback last?
With proper installation and maintenance, a high-quality mirrored glass splashback can last 10-15 years or longer. The primary factor determining lifespan is the mirror backing quality and protection from moisture and heat. Regular maintenance, including sealing and ventilation management, significantly extends durability.
What's the difference between mirrored splashbacks and stainless steel?
Mirrored splashbacks reflect light and create a spacious appearance, while stainless steel offers a modern, industrial look and superior heat resistance. Mirrors require more maintenance but are more aesthetically versatile. Stainless steel is more durable in high-heat environments but can show fingerprints and scratches more easily. Choose based on your kitchen design and cooking style.
Is it safe to install mirrored glass above a gas stove?
Yes, but with precautions. Ensure the mirror is at least 30 cm above the stove, use heat-resistant glass, install a heat shield, and maintain proper ventilation. Never place the mirror directly above an open flame. These measures protect the mirror backing from heat damage while maintaining kitchen safety.
Can mirrored splashbacks be customized with designs or patterns?
Yes. Many Indian glass suppliers offer custom mirrored splashbacks with sandblasted designs, colored backing, or beveled edges. These options increase cost but allow personalization to match your kitchen décor. Discuss design possibilities with your glass supplier before ordering.
Mirrored glass splashbacks elevate kitchen aesthetics while offering practical protection and easy maintenance. By choosing quality materials, following proper installation procedures, and committing to regular care, your mirrored splashback will remain a stunning kitchen feature for years. Explore trusted glass suppliers and professional installers in your area through the Glassy.in directory to find the perfect solution for your kitchen renovation project.