
Mirrors
Mirror Glass for Interiors: Illusion Techniques & Installation Best Practices
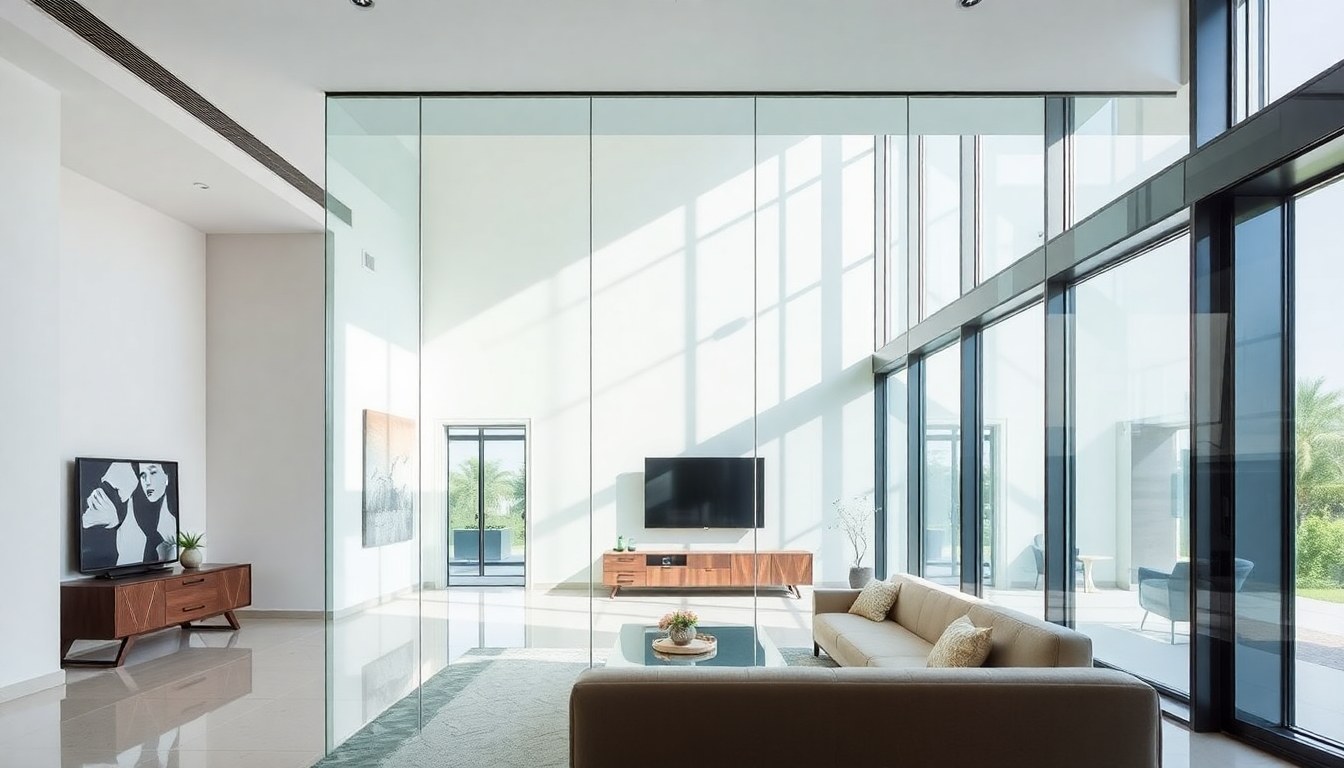
Mirrors are one of the most powerful tools in interior design, capable of transforming cramped rooms into visually expansive spaces while amplifying natural light. Whether you're designing a small apartment in Mumbai, a boutique showroom in Bangalore, or a residential home anywhere across India, strategic mirror placement and quality installation can dramatically alter how a space feels. This guide covers proven techniques for using mirror glass to create spatial illusions, explores backing options and protective coatings, and walks you through professional installation best practices.
Understanding How Mirrors Create Space Illusions
The fundamental principle behind mirror-based space expansion is reflection. When positioned correctly, mirrors bounce light and visual information across a room, creating the perception of depth and openness. A small bathroom feels larger when a full-height mirror faces natural light. A narrow corridor appears wider when mirrors line one wall. The key is understanding which surfaces to reflect and from which angles.
Mirrors work best when they reflect desirable views—windows, artwork, or well-lit areas—rather than clutter or dark corners. Positioning a mirror opposite a window multiplies the effect of natural light, reducing reliance on artificial lighting and creating an airy atmosphere. In spaces without windows, mirrors facing well-designed accent lighting serve the same purpose. The angle of placement matters too; slightly angled mirrors can direct light and views more effectively than flat, perpendicular installations.
The Psychology of Mirror Placement
Beyond physics, mirror placement taps into human psychology. Larger mirrors create stronger illusions of space, while multiple smaller mirrors can fragment visual perception if poorly arranged. A single large mirror (minimum 1.2m × 0.8m) typically outperforms several small ones in creating cohesive spatial expansion. However, placement height also matters—mirrors hung at eye level feel more natural and less disorienting than those placed too high or too low.
Strategic Placement Techniques for Maximum Impact
The location of your mirror determines its effectiveness. In residential settings across India's diverse climate zones, placement must balance aesthetic goals with practical concerns like moisture exposure and maintenance accessibility.
- Opposite Windows: Maximizes natural light reflection, ideal for north-facing rooms or spaces lacking direct sunlight. This technique is particularly effective in Indian homes during monsoon seasons when interior lighting becomes critical.
- Perpendicular to Windows: Reflects light sideways across a room, expanding perceived width without direct opposition.
- Above Furniture: A mirror above a sofa or console table adds depth without consuming floor space, common in Mumbai and Delhi apartments where square footage is premium.
- Corner Placements: Two mirrors meeting at a corner create a three-dimensional effect and draw the eye upward, useful in low-ceiling spaces.
- Accent Wall Mirrors: Tiling an entire wall with mirror panels transforms a room's proportions, popular in salons, spas, and modern residential designs.
- Floor-to-Ceiling Installations: Creates maximum vertical expansion, particularly effective in duplex apartments or homes with high ceilings.
Avoid placing mirrors directly opposite the entrance door or main seating areas, as this can feel uncomfortable and create visual confusion. In kitchens, position mirrors to reflect stainless steel appliances or tile backsplashes rather than cooking areas, which can feel chaotic when mirrored.
Mirror Backing Options and Their Advantages
The backing of a mirror determines its durability, appearance, and suitability for different environments. Indian climate conditions—high humidity in coastal areas, temperature fluctuations, and monsoon exposure—make backing selection critical.
Silver Backing (Traditional)
Silver backing is the industry standard, offering superior reflectivity and clarity. A thin layer of silver is deposited onto the glass surface, then protected with a copper layer and paint. Silver-backed mirrors provide the clearest, most accurate reflections and are ideal for living rooms, bedrooms, and retail spaces. However, silver backing can corrode in highly humid environments without proper protective coatings, making them less suitable for bathrooms without ventilation or coastal properties without additional sealants.
Aluminum Backing
Aluminum backing offers excellent durability and moisture resistance, making it the preferred choice for bathrooms, kitchens, and outdoor covered areas across India. While slightly less reflective than silver, modern aluminum backing provides sufficient clarity for most applications. Aluminum-backed mirrors resist corrosion better and maintain their appearance longer in humid climates. They typically cost 10-15% more than silver-backed alternatives but deliver superior longevity in challenging environments.
Copper Backing
Copper backing provides vintage aesthetics with good durability. Often used in decorative mirrors and artistic installations, copper backing develops a patina over time, which some designers embrace as a design feature. However, copper is more susceptible to moisture damage than aluminum and requires regular maintenance in humid settings.
Anti-Moisture Coatings and Protective Measures
In India's diverse climate zones, protecting mirror backing from moisture is essential. High humidity in Kerala, coastal regions, and during monsoon seasons accelerates backing degradation, causing dark spots, clouding, and eventual mirror failure.
Protective Coating Systems
Professional-grade anti-moisture coatings create a barrier between the backing and environmental moisture. These typically include:
- Lacquer Coatings: Traditional protective layer that seals the backing, offering moderate moisture resistance. Requires reapplication every 3-5 years in high-humidity areas.
- Epoxy Sealants: Provide superior moisture protection and durability, lasting 7-10 years. More expensive but recommended for bathrooms and kitchen installations.
- Silicone-Based Sealants: Flexible and water-resistant, ideal for areas with temperature fluctuations. Often used in combination with other coatings for maximum protection.
- UV-Resistant Coatings: Protect against sun damage and fading, important for mirrors in south-facing windows or outdoor covered spaces.
When ordering mirrors from glass suppliers in major Indian cities, always specify your intended location and humidity level. Premium suppliers offer mirrors with multi-layer protective coatings suited to specific environments—coastal, urban, or high-altitude regions each have different requirements.
Installation-Level Moisture Prevention
Beyond coating, proper installation prevents moisture intrusion. Ensure adequate ventilation behind wall-mounted mirrors, use moisture-resistant backing materials for mounting, and seal any gaps between mirror edges and walls with silicone sealant rather than cement-based products. In bathrooms, install exhaust fans or ensure windows remain openable to reduce humidity levels.
Professional Installation Best Practices
Proper installation determines whether mirrors deliver their intended visual and functional benefits or become maintenance headaches. Whether you're installing a single bathroom mirror or an entire accent wall, following professional standards ensures safety, longevity, and aesthetic success.
Surface Preparation
Begin with thoroughly cleaned, dry, and level surfaces. Any dust, moisture, or irregularities will compromise adhesive bonding and create visible imperfections. For wall-mounted mirrors, verify that walls are plumb (perfectly vertical) using a spirit level. In older Indian homes with uneven walls, minor surface preparation or leveling compound application may be necessary.
Adhesive Selection
Use mirror-specific adhesives rather than general-purpose construction adhesives. Silicone-based mirror adhesives (often called "mirror mastic") are ideal for interior installations, offering flexibility, water resistance, and strong bonding. Apply adhesive in a grid pattern with adequate coverage—typically 60-70% of the mirror's back surface—to prevent air pockets that weaken adhesion and create visible distortions.
For large mirrors (over 1.2m × 1.5m) or those installed in high-humidity areas, combine adhesive with mechanical fasteners. Stainless steel brackets, L-shaped supports, or specialized mirror clamps provide additional security and distribute weight more effectively than adhesive alone.
Support and Bracing During Installation
Heavy mirrors require temporary support during installation. Use adjustable supports or temporary bracing to hold the mirror in position while adhesive cures (typically 24-48 hours). Never rely on adhesive alone to support weight during curing; gravity and vibration can cause slippage or failure. For floor-to-ceiling installations, use steel channels or aluminum framing to bear the weight, with adhesive serving as a secondary seal.
Finishing and Sealing
Once adhesive has cured, seal the perimeter with silicone sealant to prevent moisture infiltration behind the mirror. Use clear, paintable silicone for seamless aesthetics. Avoid caulk-based sealants, which remain porous and allow moisture penetration over time. For framed mirrors, ensure the frame material is moisture-resistant—stainless steel, aluminum, or sealed wood are preferable to unsealed timber in humid environments.
Safety Considerations
Ensure mirrors are secured with appropriate hardware rated for their weight. A 1.2m × 1.5m mirror of 5mm glass weighs approximately 45kg and requires heavy-duty fastening. In homes with children or in commercial spaces, use tempered glass mirrors, which shatter into small, relatively harmless pieces rather than sharp shards if broken. Always follow local building codes and consult structural engineers for large installations or load-bearing wall modifications.
Maintenance and Long-Term Care
Proper maintenance extends mirror life and preserves their reflective quality. Clean mirrors monthly with distilled water and microfiber cloths to prevent mineral deposit buildup, common in Indian cities with hard water. Avoid ammonia-based cleaners on mirrors with protective coatings, as ammonia can degrade sealants. In bathrooms, wipe mirrors immediately after use to minimize moisture exposure, and ensure adequate ventilation to prevent condensation.
Inspect mirrors annually for signs of backing deterioration—dark spots, cloudiness, or color changes indicate moisture intrusion. Address these issues promptly by consulting professional glass suppliers who can assess whether the mirror can be salvaged or requires replacement.
Frequently Asked Questions
What size mirror best expands a small room?
A single large mirror (minimum 1.2m × 0.8m) positioned opposite a window or light source typically provides the strongest space-expansion effect. Larger mirrors create more convincing illusions than multiple small mirrors. For very small rooms (under 10 square meters), floor-to-ceiling mirrors can transform the perceived space, though this approach works best with careful placement to avoid disorientation.
How do I prevent dark spots on bathroom mirrors?
Dark spots indicate moisture penetration behind the mirror backing. Prevention requires three steps: use aluminum-backed or silver-backed mirrors with epoxy sealant coatings, seal all mirror edges with silicone sealant during installation, and ensure bathroom ventilation through exhaust fans or windows. Wipe mirrors immediately after use to minimize condensation exposure. If spots appear, the mirror likely cannot be repaired and requires replacement.
Can I install a large mirror on my own, or should I hire professionals?
Mirrors under 1.0m × 0.8m can often be installed by homeowners following manufacturer instructions carefully. Larger mirrors (over 1.2m × 1.5m) benefit from professional installation due to weight, alignment precision, and safety requirements. Professional installers have proper equipment, experience with local building codes, and insurance coverage. In India, hiring experienced glass installers from established suppliers typically costs ₹2,000-₹5,000 depending on mirror size and complexity, a worthwhile investment for large installations.
Which mirror backing is best for coastal areas in India?
Aluminum backing with epoxy sealant coatings is ideal for coastal regions due to superior corrosion resistance. Avoid standard silver backing without protective coatings in coastal properties, as salt air accelerates deterioration. Request multi-layer protective coatings specifically designed for high-humidity, salt-air environments when ordering from glass suppliers in coastal cities like Goa, Kerala, or Maharashtra.
How long do interior mirrors typically last?
Well-maintained mirrors with quality backing and protective coatings last 15-20 years or longer in normal conditions. In high-humidity environments without proper ventilation, backing deterioration may occur within 5-7 years. The adhesive and sealants typically require inspection after 10-15 years. Proper installation, regular cleaning, and moisture control significantly extend mirror lifespan.
Ready to transform your space with strategic mirror installations? Browse India's largest glass-business directory at glassy.in to connect with professional mirror suppliers, installers, and glass specialists in your region. Whether you need custom-cut mirrors, protective coatings, or expert installation services, find trusted vendors who understand India's climate challenges and design requirements.