
Glass Guides
Glass Skylight Installation Guide: Structural Requirements, Condensation & Leakage Prevention
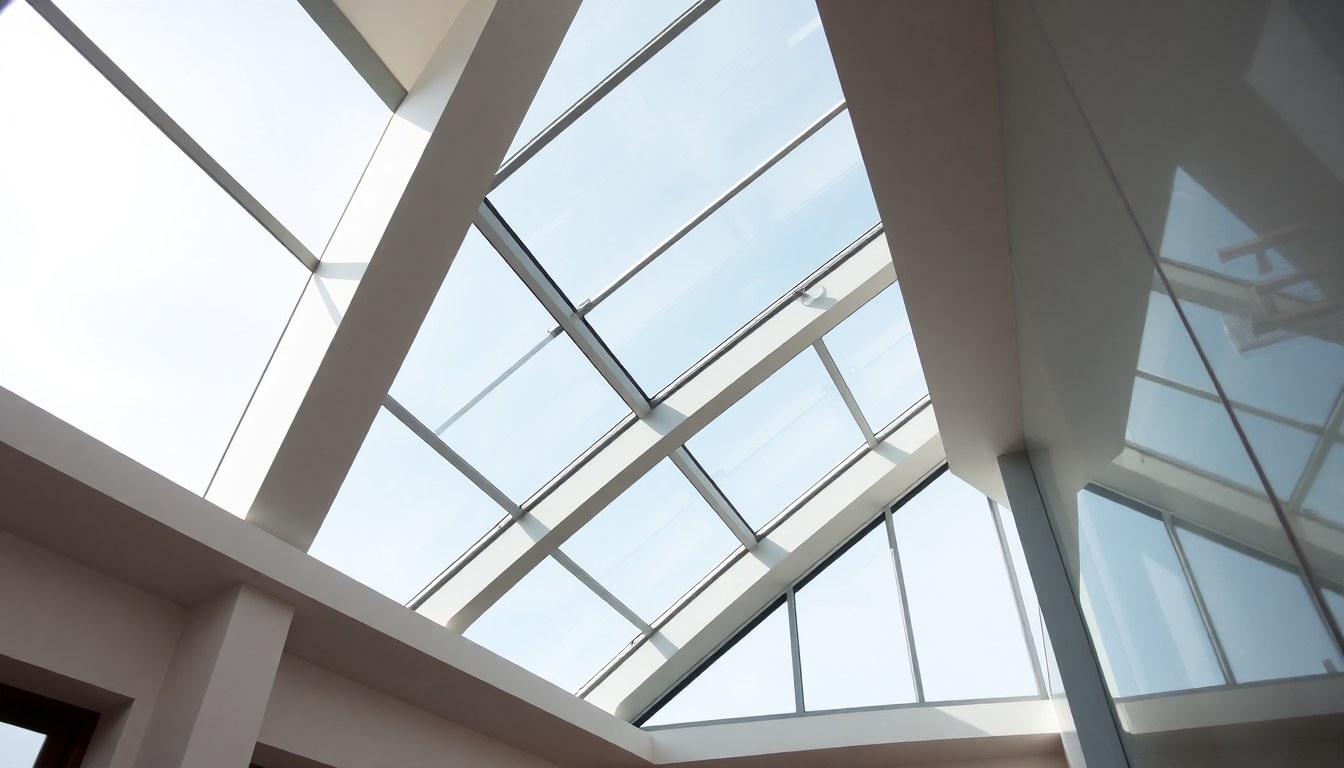
A well-installed glass skylight transforms any room with natural light while adding architectural elegance to your Bangalore villa. However, improper installation leads to condensation buildup, water leakage, and structural damage—problems that cost significantly to repair. This comprehensive guide walks you through every step of skylight installation, from structural assessment to waterproofing, ensuring your investment stays leak-free and condensation-resistant for decades.
Understanding Structural Requirements Before Installation
Before ordering your glass skylight unit, your roof structure must support the additional weight and stress. Most insulated glazing units (IGUs) used in skylights weigh between 40–80 kg, depending on size and glass thickness. Your roof framing—typically wooden beams or RCC in Indian homes—must be evaluated by a structural engineer to determine load-bearing capacity and identify suitable installation locations.
The ideal location avoids roof valleys, ridges, and areas where water naturally collects during monsoons. In Bangalore's climate, where heavy rainfall occurs during May-October, positioning your skylight away from water flow paths is critical. Check for existing electrical wiring, plumbing, and HVAC ducts within the planned installation zone to avoid costly relocations.
Load Calculations and Roof Assessment
Engage a qualified structural engineer to calculate the dead load (weight of the skylight) and live loads (wind, rain, potential snow in hill stations). For most residential skylights in India, a 6 mm or 8 mm tempered glass with an aluminum frame distributes weight adequately across standard roof beams spaced 600 mm apart. If your beams are wider apart, reinforcement using additional support posts may be necessary, adding ₹8,000–₹15,000 to your project cost.
Document all findings in a written report. This protects you during insurance claims and resale, and ensures compliance with local building codes in Bangalore and surrounding areas.
Choosing the Right Glass Skylight Unit
Insulated glazing units (IGUs) are the gold standard for skylights in India's tropical climate. An IGU consists of two or three panes of tempered glass separated by an air gap (typically 6–12 mm) filled with argon or air. This design minimizes heat transfer and reduces condensation compared to single-pane skylights.
For Bangalore's warm, humid climate, opt for low-emissivity (Low-E) coated glass on the inner pane. This coating reflects infrared heat back into the room during winter and reflects external heat during summer, reducing your air conditioning load by 15–20%. The cost premium—approximately ₹3,000–₹5,000 per square meter over standard IGU—pays for itself within 3–4 years through energy savings.
Glass Specifications and Safety
Always specify tempered glass for skylights; it's mandatory under Indian safety standards. Tempered glass is 4–5 times stronger than annealed glass and shatters into small, harmless granules if broken, rather than sharp shards. For skylights in bedrooms or living areas, consider laminated tempered glass (₹5,000–₹8,000 per sq. m), which holds together if cracked, preventing accidental falls or intrusions.
Request UV-protective coatings to prevent furniture fading and reduce glare. Many manufacturers offer these coatings as standard or for a small additional charge (₹500–₹1,500 per unit).
Step-by-Step Installation Process
Proper installation is where most skylight problems originate. A poorly sealed skylight invites water ingress and condensation regardless of glass quality. Follow these steps meticulously, and consider hiring a licensed contractor if you're unfamiliar with roofing work.
Preparation and Framing
Begin by marking the skylight opening on your roof from inside the attic or top floor. Use a chalk line to outline the dimensions, leaving a 50 mm border on all sides for flashing and fasteners. Cut the roof opening carefully using a reciprocating saw, removing roofing material (tiles, shingles, or waterproofing membrane) and the underlying structure in one piece.
Install a wooden frame (typically 50 mm × 50 mm timber) around the opening to create a curb. This curb sits on the roof deck and provides a mounting surface for the skylight unit and flashing. Secure the curb with rust-resistant bolts or heavy-duty nails, spaced every 300 mm. Ensure the curb is level using a spirit level; any tilt exceeding 2° will cause water to pool at one edge.
Flashing Installation
Flashing—typically aluminum or galvanized steel—is your first defense against water leakage. The flashing sits between the roof surface and the skylight frame, directing water away from the opening. Install the flashing in layers, starting with the lower (downslope) edge and working upward, overlapping each section like roof shingles.
- Attach the bottom flashing piece first, extending it 75–100 mm onto the roof surface below the curb
- Seal all seams with silicone-based flashing sealant (not acrylic, which fails in Bangalore's heat)
- Install side flashing pieces next, overlapping the bottom piece by 50 mm
- Finish with the top flashing piece, overlapping the side pieces by 50 mm
- Use stainless steel fasteners every 150 mm to prevent rust and corrosion
In Bangalore's monsoon season, water pressure can be significant. Ensure flashing is firmly secured and all gaps are sealed. Poor flashing installation accounts for approximately 80% of skylight leaks in Indian homes.
Skylight Unit Mounting
Once flashing is complete, position the skylight unit on the curb. Most units come with pre-drilled mounting holes and rubber gaskets. Apply a continuous bead of polyurethane sealant (not silicone—it's less durable on metal) around the base of the frame before fastening. Secure the unit with stainless steel bolts or screws, tightening evenly to prevent warping. Over-tightening can crack the glass or distort the frame; tighten just until snug, then add a quarter-turn.
Check that the unit is level and square using a spirit level and measuring tape. Any misalignment can create stress points and future leaks.
Condensation Prevention Strategies
Condensation forms when warm, humid indoor air contacts the cold outer pane of the skylight, especially during early mornings or after monsoon rains. In Bangalore's 60–80% average humidity, condensation is common without proper ventilation and insulation.
Ventilation and Air Circulation
Install a small ventilation opening or louver near the skylight to allow humid air to escape. Alternatively, ensure your room has cross-ventilation—windows on opposite walls that allow air circulation. In bedrooms or bathrooms, use exhaust fans during and 20 minutes after bathing to remove moisture. These simple steps reduce condensation by 40–60%.
Insulation and Thermal Break
The aluminum frame conducts heat and cold, creating thermal bridges. Choose skylights with thermally broken frames—these have a plastic or rubber insert between the inner and outer aluminum, reducing heat transfer by 30%. Though costlier by ₹2,000–₹4,000 per unit, the reduction in condensation and energy costs justifies the expense in Bangalore's climate.
Insulate the roof space around the skylight curb with mineral wool or fiberglass batts (50 mm thickness minimum). This maintains the inner glass surface temperature closer to room temperature, reducing condensation formation.
Moisture Barriers and Sealants
Install a vapor barrier on the room side of the insulation using polyethylene sheeting or specialized vapor-barrier paint. This prevents warm, humid room air from entering the wall cavity where it would condense on the cold outer glass. Ensure the barrier is continuous and sealed at all edges with duct tape or polyurethane sealant.
Waterproofing and Long-Term Maintenance
Beyond flashing, multiple waterproofing layers protect your skylight investment. The roof membrane (typically bituminous or PVC in India) should extend under the flashing and up the sides of the curb by at least 150 mm. If your roof doesn't have a membrane, apply a liquid waterproofing coating (such as acrylic or polyurethane-based) around the installation area before installing flashing.
Seal all fastener holes with stainless steel washers and polyurethane sealant. Even small gaps allow water capillary action to penetrate the joint. Inspect and reseal the entire skylight perimeter every 2–3 years, especially after heavy monsoons. Sealant degrades under UV exposure and temperature cycling; fresh sealant costs ₹1,000–₹2,000 and prevents expensive water damage.
Install a drip edge or gutter on the interior side of the skylight frame to catch any condensation or minor leaks and direct them to a drain or external downspout. This secondary safety net has saved many homeowners from water damage to ceilings and walls.
Common Installation Mistakes to Avoid
Rushing the flashing installation is the most frequent error. Many installers use silicone sealant alone without proper flashing, leading to leaks within months. Always install metal flashing first, then seal with polyurethane.
Neglecting proper slope is another critical mistake. Your roof should slope at least 2–3° to ensure water runs off rather than pooling. If your roof is nearly flat, consider a curb height of at least 150 mm to prevent water accumulation.
Using non-stainless fasteners in Bangalore's humid climate causes rust, which stains the frame and weakens the seal. Always specify stainless steel (grade 304 or higher) bolts, screws, and washers.
Failing to insulate and ventilate adequately guarantees condensation problems. Don't skip these steps to save a few thousand rupees; the resulting damage will cost far more to repair.
Frequently Asked Questions
How much does a glass skylight installation cost in Bangalore?
A typical 1.2 m × 1.2 m IGU skylight with installation costs ₹35,000–₹75,000, depending on glass type, frame material, and structural reinforcement needs. Low-E coated units and thermally broken frames add ₹15,000–₹25,000. Flashing and waterproofing add ₹8,000–₹15,000. Always obtain quotes from at least three contractors and verify their experience with monsoon-climate installations.
Can I install a skylight myself, or should I hire a professional?
Unless you have roofing experience, hire a professional. Poor installation is the leading cause of leaks and condensation. A licensed contractor in Bangalore typically charges ₹10,000–₹20,000 for labor, but the assurance of proper waterproofing and warranty support is worth the cost. Many contractors offer 5-year guarantees on their work.
How do I stop condensation on my skylight?
Install an IGU with Low-E coating and a thermally broken frame, ensure proper roof insulation and vapor barriers, and maintain adequate ventilation in the room. Use exhaust fans during and after bathing, and ensure cross-ventilation through windows. If condensation persists, install a small interior drip tray to catch and drain moisture. Condensation alone doesn't indicate a leak; it's a thermal issue, not a waterproofing failure.
What's the lifespan of a glass skylight?
A well-installed IGU skylight lasts 20–30 years. The glass itself is permanent, but seals and sealants degrade over time. Inspect and reseal the perimeter every 2–3 years. In Bangalore's climate, the flashing and fasteners may require replacement after 15–20 years due to corrosion and UV exposure.
Is a skylight safe during heavy rain or storms?
Yes, if properly installed. Tempered glass is 4–5 times stronger than standard glass and rarely breaks from rain impact. Proper flashing and waterproofing prevent water ingress even during heavy downpours. However, extreme hail or flying debris can damage any glass; consider laminated tempered glass in storm-prone areas for extra protection.
Ready to bring natural light into your Bangalore home? Browse certified glass contractors, skylight manufacturers, and installation specialists on glassy.in, India's trusted glass business directory. Compare quotes, read reviews, and connect with professionals who understand monsoon-climate requirements.