
Glass Railings
Glass Railing Installation Guide: Safety Standards & Step-by-Step Process
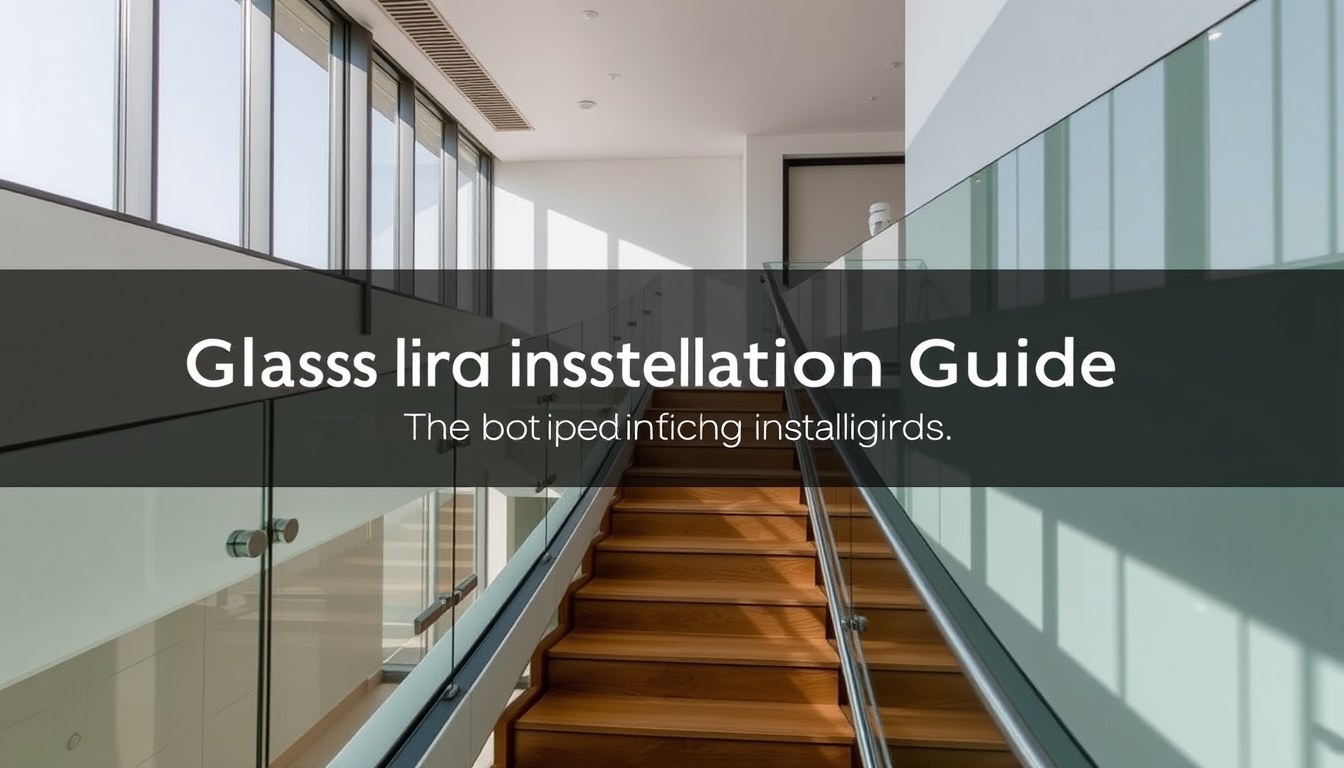
Glass railings transform spaces with modern aesthetics while maintaining unobstructed views—but only when installed correctly according to Indian safety standards. Whether you're installing frameless or framed glass railings, understanding the proper installation process, IS codes, and safety requirements is essential to ensure durability, compliance, and occupant safety. This guide walks you through every step, from pre-installation checks to final finishing.
Understanding Indian Safety Standards for Glass Railings
Glass railings in India must comply with IS 6399-1: Code of Practice for Design, Fabrication and Erection of Structural Steelwork in Building and IS 4414: Code of Practice for General Construction in Steel for structural support. For the glass itself, IS 2553: Code of Practice for Use of Structural Steel in General Building Construction governs material quality and safety. Additionally, IS 13321: Code of Practice for Architectural Use of Glass in Buildings specifically addresses glass railing design and performance.
The key safety requirements include a minimum baluster spacing of 100 mm (to prevent child entrapment), a minimum railing height of 1100 mm for residential spaces and 1200 mm for commercial areas, and a horizontal load capacity of at least 1.2 kN/m. Glass thickness typically ranges from 10 mm to 12 mm toughened glass for residential applications, with thicker options for high-traffic commercial spaces. Always verify these requirements with your local building authority before installation begins.
Types of Glass Railings and Installation Methods
Frameless Glass Railings
Frameless glass railings offer a seamless, contemporary look by using glass panels held in place by minimal hardware. These systems rely on stainless steel or aluminum spigots (point fixings) embedded in the floor or mounted on top surfaces. The installation process requires precise drilling and anchoring to ensure the glass bears all loads without visible support frames.
The primary advantage is aesthetic—no visible metal frames obstruct the view. However, frameless installations demand higher precision during measurement and installation, and they typically cost 20-30% more than framed systems. The glass must be toughened and often laminated for safety compliance.
Framed Glass Railings
Framed glass railings use aluminum or steel channels to hold glass panels in place. The frame provides additional structural support and is often preferred for high-rise buildings, commercial spaces, and areas with stringent safety requirements. Installation involves mounting the frame to the structural support (wall, beam, or floor) and then securing glass panels within the frame using rubber gaskets or silicone sealants.
Framed systems are more forgiving during installation and typically cost less. They're also easier to replace individual glass panels if damage occurs. The frame can be powder-coated in various colors to match architectural designs.
Pre-Installation Planning and Measurements
Before ordering materials or beginning installation, conduct a thorough site survey. Measure the railing run length, height requirements, and any obstacles or irregularities in the structural surface. Document the exact location where the railing will be installed—balconies, staircases, mezzanines, and deck edges all have slightly different requirements.
Key measurements to record:
- Total horizontal length of the railing
- Height from finished floor level to top of railing
- Structural surface type (concrete, steel, wood, or masonry)
- Any slopes, curves, or non-linear sections
- Proximity to windows, doors, or other architectural features
- Weather exposure (indoor, covered outdoor, or fully exposed)
Verify that the structural surface can support the required load capacity. For concrete installations, ensure the concrete strength is at least M25 grade. For steel structures, confirm the beam or support can handle the lateral loads. Consult with a structural engineer if the building is older than 20 years or if you're unsure about load-bearing capacity.
Step-by-Step Installation Process
Step 1: Prepare the Installation Surface
Clean the installation surface thoroughly—remove dust, debris, old sealant, and any loose material. For concrete surfaces, use a wire brush or light grinding to create a clean, slightly rough texture that aids adhesion. For steel surfaces, remove any rust or mill scale using a wire wheel or light grinding. Ensure the surface is dry before proceeding; moisture can compromise sealant and anchor performance.
Mark the exact positions where fixings or frame supports will be installed using a chalk line and level. Double-check measurements at multiple points to ensure accuracy. Any deviation at this stage will compound during installation.
Step 2: Install Anchoring Points
For concrete installations, drill holes using a diamond-core drill bit to the depth specified by your anchor manufacturer (typically 100-150 mm for chemical anchors). Use a level and measuring tape to ensure holes are perfectly vertical and evenly spaced. Clean each hole with a vacuum or compressed air to remove all dust.
For framed systems, install the base channel or support bracket using either:
- Chemical anchors—inject epoxy or polyurethane resin into pre-drilled holes and insert stainless steel threaded rods
- Mechanical anchors—use expansion anchors or wedge anchors for faster installation (suitable for non-critical applications)
- Bolted connections—if the structure has pre-existing anchor points
For frameless spigot installations, the process is identical, but the spacing between spigots must not exceed 600 mm and must align with the glass panel widths.
Step 3: Install the Frame or Spigots
Mount the base channel or frame to the anchors using stainless steel bolts, washers, and nuts. Tighten bolts in a cross pattern (alternating sides) to ensure even pressure and prevent warping. Use a torque wrench to achieve the manufacturer's specified torque value—typically 40-60 Nm for M10 bolts.
For frameless systems, install the bottom spigots first, ensuring they're perfectly vertical using a spirit level. Install top spigots or top rail supports next. The vertical alignment is critical; even a 2-3 mm deviation becomes visible in the glass panel alignment.
Apply a bead of structural silicone sealant around the base of the frame or spigots to create a weather-tight seal and prevent water ingress into anchor points.
Step 4: Fit Glass Panels
Handle toughened glass panels with care—wear safety gloves and ensure two people support larger panels. For framed systems, apply rubber gaskets or EPDM seals to the frame channels before inserting the glass. Slide the glass panel into the frame carefully, ensuring even gaps on both sides.
For frameless spigot systems, place the glass panel onto the bottom spigots, then secure it to the top spigots using stainless steel caps and bolts. Apply a thin bead of structural silicone sealant in the spigot cap before tightening to create a watertight seal. Tighten spigot caps evenly, alternating between bottom and top to distribute pressure uniformly.
Ensure all glass panels are plumb (vertical) and level using a spirit level. Check for any gaps between panels and seal them with structural silicone if required by the design.
Step 5: Seal and Finish
Apply structural silicone sealant to all joints where glass meets metal, metal meets structure, and between adjacent panels. Use a caulking gun to apply an even bead, then smooth it with a wet finger or caulking tool. Allow the sealant to cure for the time specified by the manufacturer (typically 24-48 hours) before subjecting the railing to full load.
For framed systems, install any top caps, end caps, or cover plates to hide fasteners and complete the aesthetic finish. Paint or powder-coat any exposed steel components if not already finished.
Quality Checks and Safety Testing
Before handing over the installation, perform the following quality checks:
- Visual inspection—ensure glass is clean, free of cracks, and properly aligned
- Plumb and level check—verify vertical and horizontal alignment within 3 mm tolerance
- Load testing—apply a horizontal force of 1.2 kN/m along the top rail for 5 seconds; the railing should not deflect more than 5 mm
- Baluster spacing test—confirm that a 100 mm sphere cannot pass between any two balusters or between the glass and any fixed object
- Sealant inspection—ensure all joints are properly sealed with no visible gaps or voids
- Fastener check—verify all bolts are tight and no fasteners are missing
Document all tests with photographs and measurements. This documentation is essential for building approvals and future maintenance records. If any test fails, address the issue immediately before the railing is used.
Common Installation Mistakes to Avoid
Many installation failures result from preventable errors. Incorrect spacing between fixings is the most common issue—oversized spacing reduces load capacity and can cause glass deflection. Using annealed glass instead of toughened glass violates safety codes and creates a serious hazard; always verify glass type on the supplier's certification.
Poor surface preparation leads to anchor failure and water ingress. Skipping the structural assessment can result in inadequate support capacity. Improper sealant application allows water penetration, leading to rust and corrosion. Finally, inadequate curing time before load application can compromise the integrity of adhesive systems.
For complex installations, especially in high-rise buildings or commercial spaces, engage a certified glass railing installer. Professionals like those listed in the Studio IN-GRID network bring expertise in navigating local building codes and ensuring compliance with structural requirements.
Maintenance and Long-Term Care
Glass railings require minimal maintenance but benefit from regular care. Clean glass panels monthly using a soft cloth and mild soap solution—avoid abrasive cleaners that can scratch the surface. Inspect sealants annually; if cracks appear, remove old sealant and reapply with fresh structural silicone.
Check fasteners annually and tighten any that have loosened due to vibration or thermal expansion. In coastal areas, apply a protective coating to metal components to prevent salt corrosion. If a glass panel cracks, it must be replaced immediately—do not attempt repairs on toughened glass.
Frequently Asked Questions
What is the minimum glass thickness for glass railings in India?
The minimum recommended thickness is 10 mm toughened glass for residential applications. For commercial buildings, high-traffic areas, or installations exposed to wind loads, 12 mm toughened glass is preferred. Some architects specify 10 mm laminated glass (combining strength with safety) for added impact resistance. Always refer to IS 13321 and your structural engineer's recommendations for your specific application.
How much does glass railing installation cost in India?
Frameless glass railing installation typically costs ₹2,500 to ₹4,500 per running meter, depending on glass thickness, location, and structural complexity. Framed systems range from ₹1,500 to ₹3,000 per running meter. These prices include materials, labor, and basic finishing. Additional costs apply for complex geometries, high-rise installations, or premium finishes. Obtain quotes from multiple installers to compare pricing and service quality.
Can glass railings be installed on existing balconies without structural modifications?
In most cases, yes—if the existing structure can support the additional load (typically 1.2 kN/m horizontally). However, a structural assessment is essential. If the existing balcony slab shows cracks, excessive deflection, or is older than 30 years, reinforcement may be necessary. Consult a structural engineer before installation to avoid safety issues.
What is the difference between toughened and laminated glass for railings?
Toughened glass is heat-treated to be 4-5 times stronger than annealed glass and breaks into small, harmless fragments if fractured. Laminated glass consists of two or more glass layers bonded with a plastic interlayer; if fractured, the interlayer holds fragments together, preventing complete failure. For railings, toughened glass is standard; laminated glass is added for enhanced safety in high-impact areas or as a secondary layer.
How do I ensure my glass railing installation complies with local building codes?
Start by obtaining a copy of your local building authority's requirements and cross-reference them with IS 13321, IS 6399-1, and IS 4414. Engage a certified structural engineer to review your design before installation. Submit detailed installation drawings and material certifications to the building authority for approval. After installation, request a compliance inspection and obtain a completion certificate. This process ensures your railing meets all safety and legal requirements.
Connect with Expert Glass Railing Installers
Installing glass railings correctly requires technical knowledge, precision tools, and quality materials. Whether you're planning a residential balcony upgrade or a commercial building project, the right installer makes all the difference. Browse verified glass railing suppliers and installation specialists on glassy.in—India's largest glass business directory—to find trusted professionals in your area who understand local codes and deliver safe, beautiful installations.