
Shower Enclosures
Frameless Glass Shower Enclosure Sealing: Prevent Water Leaks & Mold
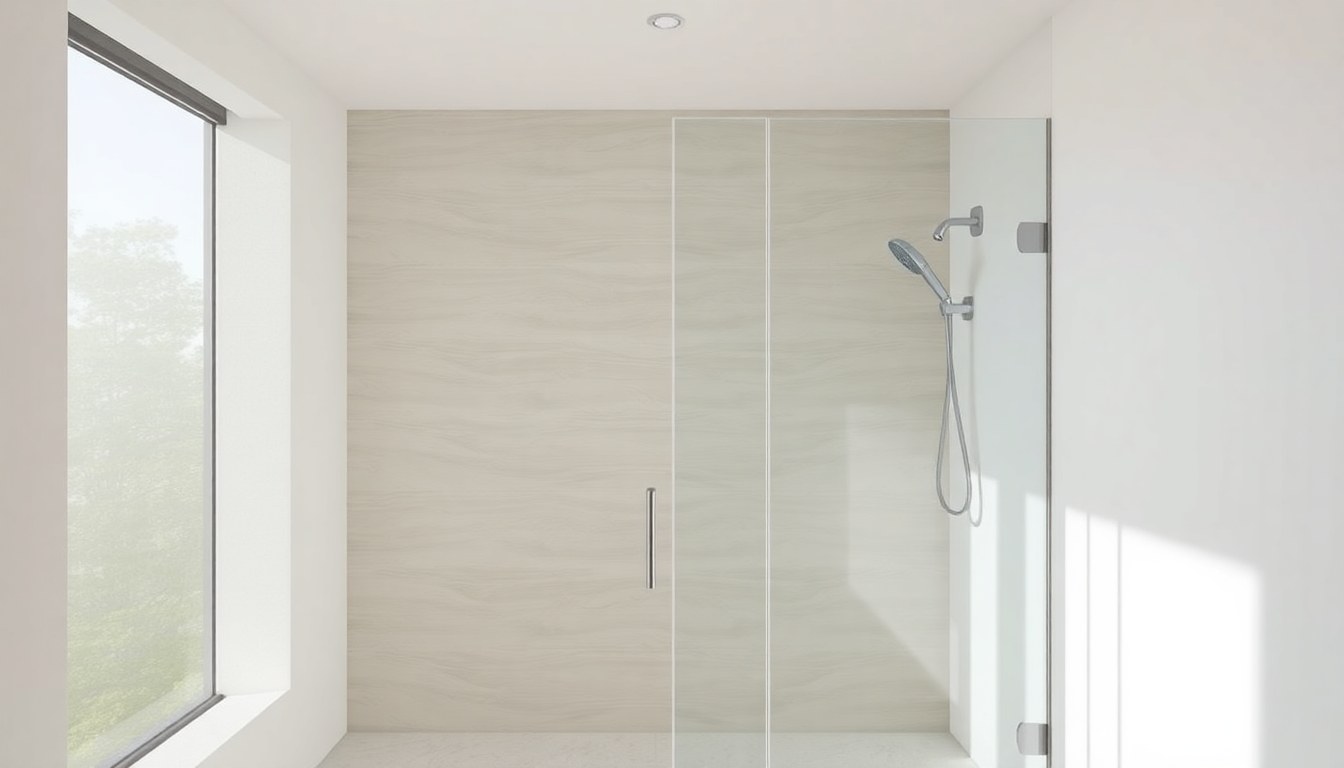
Frameless glass shower enclosures offer a modern, minimalist aesthetic that transforms any bathroom into a spa-like retreat. However, their beauty comes with a critical responsibility: proper sealing. Without correct sealant application, water seeps into walls and subfloors, leading to costly structural damage, mold growth, and health hazards. This guide walks you through preventing water leaks and mold in frameless shower enclosures, covering sealant selection, application techniques, and maintenance strategies tailored for India's humid climate.
Why Frameless Shower Enclosures Are Prone to Water Leaks
Frameless shower enclosures lack the aluminum or vinyl frames that traditional framed showers use to channel water. Instead, they rely entirely on precision gaps, hinges, and sealant to keep water inside the shower area. Any compromise in sealant integrity—whether from poor installation, material degradation, or settling—creates pathways for water escape.
India's tropical and subtropical climates amplify these risks. High humidity, temperature fluctuations, and seasonal monsoons place continuous stress on sealants. Water doesn't just leak downward; it can travel laterally along surfaces, finding its way behind glass panels and into wall cavities. The problem often goes unnoticed until mold appears or structural damage becomes visible.
Common Leak Points in Frameless Enclosures
- Bottom seal between glass and threshold: The most critical joint; water pools here and exploits weak sealant.
- Hinges and pivot points: Moving parts create micro-gaps where sealant deteriorates faster.
- Glass-to-glass seams: Where two panels meet without a frame; requires perfect sealant continuity.
- Corner joints: Stress concentrations where water pressure is highest.
- Drain surrounds: If a frameless enclosure has a custom drain, the perimeter seal is critical.
Choosing the Right Sealant for Frameless Shower Enclosures
Not all sealants are created equal. The wrong choice leads to premature failure, mold proliferation, and costly repairs. For frameless shower enclosures, you need a sealant that withstands constant moisture, temperature swings, and UV exposure.
Silicone vs. Acrylic vs. Polyurethane
Silicone sealant is the gold standard for shower enclosures. It remains flexible after curing, resists water penetration, and lasts 5–10 years in humid environments. Silicone doesn't shrink significantly, making it ideal for large gaps. Look for 100% silicone formulations labeled "shower-grade" or "bathroom-grade."
Acrylic sealant is cheaper (₹150–₹300 per cartridge vs. ₹400–₹800 for silicone) but unsuitable for constant moisture. It hardens and cracks within 2–3 years, especially in India's climate. Avoid it for shower sealing.
Polyurethane sealant offers excellent adhesion and flexibility but is harder to apply and clean. It's better suited for structural joints outside the shower enclosure.
Anti-Mold and Anti-Fungal Additives
In humid climates, mold and mildew colonize sealant surfaces within months. Choose silicone sealants with built-in biocides (anti-mold additives). Brands like Dow Corning, GE Silicones, and some Indian manufacturers offer sealants with fungicide technology. These cost 20–30% more but prevent black spots and odor for 3–4 years longer than standard silicone.
Always verify the product label states "mold-resistant" or "fungicide-added." Some sealants marketed as "waterproof" lack anti-mold properties.
Preparing Surfaces for Sealant Application
Poor surface preparation is the #1 reason sealants fail. Even premium silicone won't adhere properly to dirty, wet, or oily surfaces. Proper prep takes 1–2 hours but adds years to sealant lifespan.
Step-by-Step Surface Preparation
- Remove old sealant: Use a caulk removal tool or utility knife to scrape away existing sealant. For stubborn residue, apply a silicone remover (₹200–₹400 per bottle) and let it sit 15–20 minutes before scraping.
- Clean with degreaser: Wipe surfaces with a cloth dampened in rubbing alcohol or a glass cleaner. This removes soap scum, mineral deposits, and oils that block adhesion.
- Dry thoroughly: Use a lint-free cloth or paper towel. Moisture is sealant's enemy. In humid conditions, allow 30–60 minutes of air-drying, or use a hair dryer on cool setting.
- Apply painter's tape: Tape both sides of the joint to create clean, straight sealant lines. This is especially important for visible seams. Remove tape within 24 hours of application, before sealant fully cures.
- Prime if needed: For porous surfaces (certain stone or tile), apply a primer recommended by the sealant manufacturer. This improves adhesion significantly.
Proper Sealant Application Technique
Application skill directly impacts sealant performance. A poorly applied bead, even with premium silicone, will fail prematurely. The goal is a continuous, smooth bead that fills the entire joint depth.
Application Process
Cut the sealant cartridge nozzle at a 45-degree angle, making a cut size matching your joint width (typically 4–6 mm). Load the cartridge into a caulking gun and apply steady, even pressure. Move the gun slowly along the joint at a 45-degree angle, allowing sealant to flow into the gap.
For the critical bottom seal between glass and threshold, apply sealant in a continuous bead with no gaps or thin spots. The bead should be slightly convex (bulging outward), not concave. A concave bead traps water and fails faster.
Smoothing and Finishing
Immediately after application (within 5 minutes), smooth the bead with a wet finger or a caulk-smoothing tool. This pushes sealant deeper into the joint and creates a professional appearance. Wet your finger with soapy water to prevent sealant from sticking to your skin.
For frameless enclosures, pay extra attention to corners and hinge areas. These high-stress zones need thicker, well-packed sealant. Don't rush the smoothing step—it determines whether water finds gaps later.
Mold Prevention and Long-Term Maintenance
Even with perfect sealing, mold can grow on sealant surfaces in India's humid climate. Proactive maintenance extends sealant life and keeps your bathroom healthy.
Ventilation and Humidity Control
Install or upgrade bathroom ventilation. An exhaust fan rated for your bathroom size (typically 50–100 CFM for standard bathrooms) should run during and 20–30 minutes after showers. In monsoon season, run it longer. Proper ventilation reduces humidity from 80–90% to 50–60%, dramatically slowing mold growth.
If your bathroom lacks windows, consider a small dehumidifier (₹3,000–₹8,000) during monsoon months. Keeping relative humidity below 60% prevents mold on sealant and glass.
Regular Cleaning and Inspection
Clean sealant monthly with a soft brush and mild soap solution. Avoid harsh chemicals like bleach, which degrade silicone. For mold spots, use a 1:1 white vinegar and water solution, or a commercial bathroom mold cleaner rated safe for silicone.
Inspect sealant quarterly for cracks, peeling, or discoloration. Early detection allows you to re-seal problem areas before water penetrates. In India's climate, plan to fully re-seal frameless enclosures every 5–7 years, even if no leaks are visible.
Addressing Mold Growth
If mold appears on sealant, don't ignore it. Clean it immediately with vinegar or a mold-killing cleaner. If mold returns within weeks despite cleaning, the sealant is likely compromised and should be replaced. Mold indicates water is penetrating the sealant, risking hidden damage behind walls.
Troubleshooting Common Sealing Problems
Even with best practices, issues arise. Here's how to diagnose and fix them.
Sealant Peeling or Pulling Away
This usually indicates poor surface preparation or incompatible materials. If peeling occurs within weeks of application, remove the failed sealant and reapply after thorough cleaning. Use a primer if the surface is porous. Ensure you're using a sealant compatible with glass and your threshold material (ceramic, stone, or composite).
Mold Appearing Quickly
Quick mold growth suggests high humidity and poor ventilation rather than sealant failure. Improve bathroom ventilation first. If mold persists, consider replacing the sealant with an anti-fungal formulation. Some sealants lose their biocide effectiveness after 2–3 years in tropical climates.
Water Pooling at the Base
If water pools rather than draining away, check that your threshold is level and the sealant bead isn't blocking water flow. The sealant should seal the gap between glass and threshold, not form a dam. Ensure drain holes (if present) are clear of sealant residue.
Frequently Asked Questions
How often should I replace the sealant in my frameless shower enclosure?
In India's humid climate, plan to replace sealant every 5–7 years, even if no leaks are visible. High humidity and temperature fluctuations accelerate degradation. If you notice cracks, discoloration, or mold that doesn't clean off, replace it immediately—don't wait for leaks to appear.
Can I use regular silicone caulk from a hardware store, or do I need shower-specific sealant?
Use shower-specific or bathroom-grade silicone. Regular silicone caulk lacks anti-mold additives and may not be formulated for constant moisture. Shower-grade sealants cost slightly more but last significantly longer and resist mold better. Always check the product label for "shower," "bathroom," or "wet area" designation.
What's the best way to remove old sealant without damaging the glass?
Use a plastic or silicone caulk removal tool (not metal, which can scratch glass). Apply a silicone remover product and let it sit 15–20 minutes to soften the sealant. Scrape gently at a low angle. For stubborn residue, repeat the remover application. Avoid sharp tools that can crack glass, especially near corners where stress is highest.
Is it normal for sealant to crack in the first year?
Minor surface cracks (hairline fractures) can occur as sealant cures and the enclosure settles, but significant cracking in the first year indicates a problem. This usually means poor surface prep, incompatible materials, or a gap too wide for the sealant used. Have it inspected; you may need to re-seal with a different approach.
How do I prevent mold from growing on the sealant itself?
Use anti-mold silicone sealant, maintain bathroom ventilation to keep humidity below 60%, and clean sealant monthly with vinegar or a mold-safe cleaner. Ensure the shower area dries quickly after use—wipe down glass and sealant if possible. In monsoon season, run your exhaust fan longer and consider a dehumidifier.
Conclusion
Sealing a frameless glass shower enclosure properly is an investment in your home's longevity and your family's health. Choose high-quality, anti-mold silicone sealant, prepare surfaces meticulously, and apply with care. In India's challenging climate, regular maintenance—ventilation, cleaning, and inspection—keeps water out and mold at bay. When it's time to upgrade or install a new frameless enclosure, explore the extensive network of glass suppliers and installers on glassy.in, India's largest glass-business directory. Our verified vendors offer quality frameless enclosures, professional installation, and sealant products to ensure your bathroom stays beautiful and leak-free for years to come.