A Step-by-Step Guide to Measuring and Installing Glass Panels
Glass panels are a timeless architectural feature, offering functionality and aesthetic elegance in spaces ranging from modern offices to luxury homes. Whether you’re upgrading interiors, adding artistic flair, or enhancing natural light flow, precise measurement and proper installation are crucial for ensuring safety, durability, and beauty. In this guide, we’ll walk you through the step-by-step process to measure and install glass panels, transforming your living or work space into a masterpiece.
Why Glass Panels Are a Design Essential
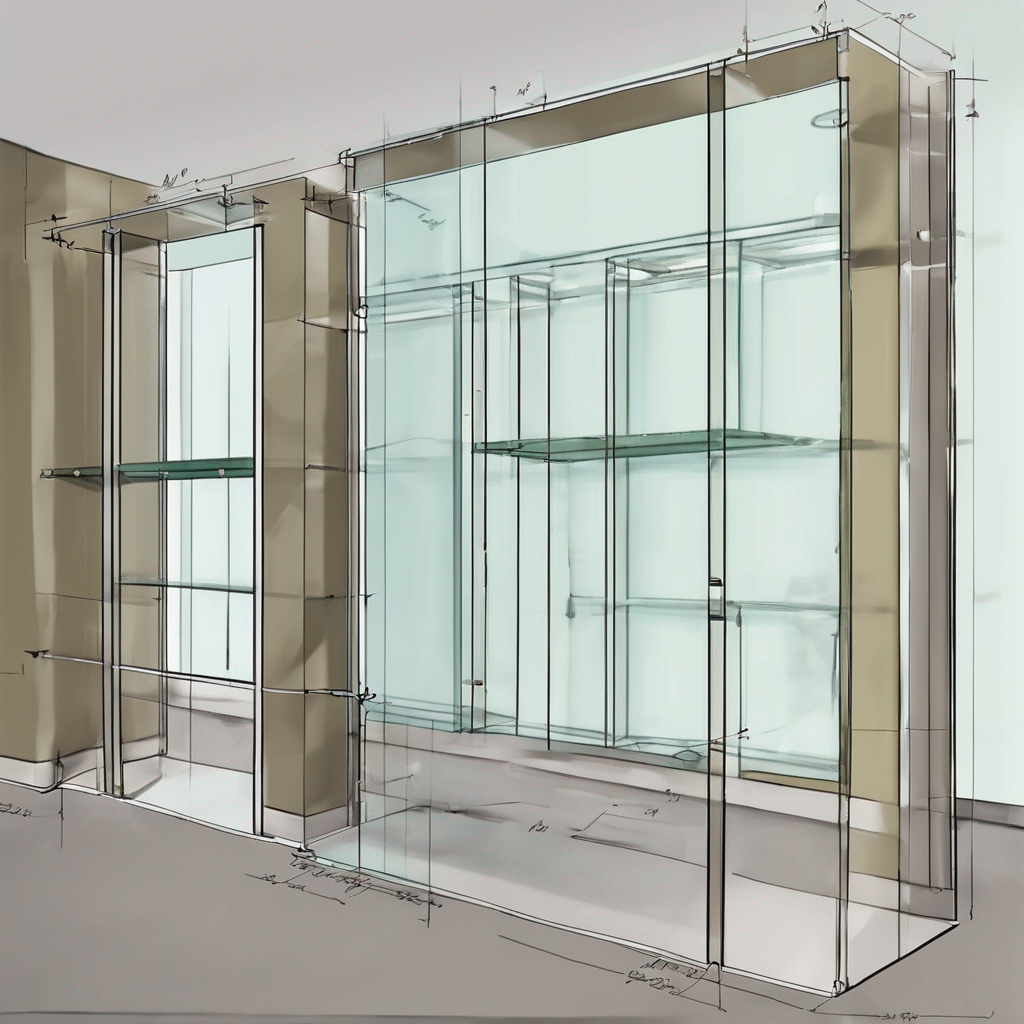
Glass panels have become a cornerstone in interior design and architecture thanks to their ability to merge functionality with artistry. They add an element of sophistication by reflecting light, creating illusions of spaciousness, and blending seamlessly into contemporary designs. From shower enclosures and partition walls to tabletops and balustrades, glass is versatile and ideal for elevating modern aesthetics. It’s no wonder professionals in the world of art and glass often use glass panels to create immersive, artistic interiors.
Step-by-Step Guide to Measuring Glass Panels
Getting the dimensions right is paramount when working with glass panels. Incorrect measurements can lead to installation issues, safety hazards, or unattractive gaps, which can detract from the panel’s seamless appearance. Follow these steps for accurate measurements:
1. Decide the Purpose and Design
- Before measuring, identify where the glass panel will be used (e.g., shower enclosure, window, partition wall, or decorative panel). Consider whether the design will integrate with frames, hinges, or be frameless.
- If the glass panel incorporates artistic elements like etching or stained glass, factor these details into your measurements and design plans.
2. Measure the Space or Frame
- Using a high-quality tape measure, start by measuring the space or frame where the glass panel will sit.
- Measure horizontally and vertically, ensuring you record readings to the nearest millimeter. For irregular shapes, take extra measurements along different sections to avoid misalignments.
3. Verify Angles and Corners
- For edge-to-edge installations or spaces with corners (e.g., angled shower enclosures), use a digital angle finder or protractor to measure the angles accurately. This ensures the glass panel fits perfectly.
4. Account for Allowances
- If the installation technique requires hardware such as brackets, tracks, or seals, leave adequate allowance for these components based on manufacturer recommendations.
- For frameless panels, ensure enough clearance to avoid stress or pressure on the edges. Glass, while strong, can crack if fitted improperly.
Step-by-Step Guide to Installing Glass Panels
Proper installation is key to achieving flawless results and durability. After taking precise measurements, follow these steps to securely install your glass panels:
1. Prepare Tools and Materials
Gather everything you’ll need, including:
- Glass panel (custom-cut to size)
- Safety gear (gloves, goggles)
- Installation hardware (clamps, hinges, tracks, or adhesives)
- Sealant or rubber gaskets
- Leveling tools (spirit level)
2. Clean the Area
- Before installation, clean the surrounding area to remove debris or dirt that might interfere with alignment.
- Choose a flat and safe workspace to handle the glass panel, as improper handling can compromise its integrity.
3. Position the Glass Panel
- Carefully lift the glass panel (use suction cups if necessary) and position it aligned with the measured area. Enlist help for larger panels to avoid accidents.
- Use leveling tools to ensure the glass is perfectly aligned horizontally and vertically.
4. Secure the Glass Panel
- Depending on the type of installation, use brackets, tracks, or adhesive to secure the panel in place. Hardware like clamps should be tightened evenly to distribute pressure.
- If using adhesive or sealants, apply them evenly and allow adequate curing time as recommended by the manufacturer.
5. Inspect and Adjust
- After securing the panel, inspect the installation for gaps, uneven edges, or misalignments.
- Perform necessary adjustments while the hardware or adhesive is still workable.
Tips for Seamless Results
-
Work with a Professional: If your project involves complex designs, irregular shapes, or artistic elements like etched glass, consider hiring a professional. Experts from Glassy specialize in high-quality custom glass solutions tailored for artistic and functional purposes.
-
Safety Comes First: Always handle glass panels carefully. Use safety gear and avoid applying excessive force during installation to prevent accidents.
-
Design for Longevity: Incorporate tempered glass or laminated options for installations requiring additional durability, such as balustrades or doors. These types of glass provide superior strength without compromising artistic integrity.
Elevating Spaces Through Art and Glass
The beauty of glass lies in its ability to transform spaces into works of modern art, striking a balance between functionality and elegance. Whether you’re installing crystal-clear panels for transparency or opting for frosted or stained varieties to add a creative touch, glass embraces versatility. It seamlessly integrates with minimalist designs while complementing intricate art-inspired interiors. Collaborating with professionals like Glassy ensures high-quality glass solutions catered to your aesthetic vision.
Final Thoughts
Measuring and installing glass panels may seem daunting at first, but with careful planning and precision, you can achieve a sophisticated and seamless finish that elevates your space. Glass panels are not just practical design elements; they are artistic expressions, reflecting light, space, and creativity. Whether you’re revamping interiors or adding an architectural feature, incorporating the elegance of art and glass can leave a lasting impression on anyone who steps into the room.
Start planning your next project with confidence, and let the timeless beauty of glass inspire your designs!# A Step-by-Step Guide to Measuring and Installing Glass Panels
Glass panels have transformed the way we approach design, offering elegance, functionality, and endless creative possibilities. Whether you’re enhancing a home interior, upgrading an office space, or installing custom art glass for a feature wall, properly measuring and installing glass panels is critical to achieving flawless results. This guide walks you through the essential steps with insights into both practicality and artistry, ensuring smooth execution and inspiring you to see the artistic possibilities of glass.
Why Glass Panels Are Powerful Design Elements
Glass panels are no longer just utilitarian. Today, they’re integral to architecture and interior design, showcasing transparency, light manipulation, and sleek finishes that complement modern spaces. From frameless glass doors to expansive windows, mirrors, and artfully designed glass partitions, they blend functionality with creativity to redefine living and working environments.
For those fascinated by art and glass, custom glass pieces can offer a marriage of craftsmanship and innovation, making unique statements in your space. Whether you’re working on a minimalist aesthetic or experimenting with bold designs, glass panels become versatile design canvases.
Understanding how to precisely measure and install glass panels is key to achieving a beautifully polished result, balancing artistry and practicality.
Step 1: Preparing Your Space for Measurement
Before diving into the technical measuring process, preparation is critical. A poorly prepared surface or workspace can lead to inaccurate measurements and installation. Start by clearing the area where the glass panels will be mounted. Remove obstacles, clean the space, and ensure surfaces are level and free from debris.
For art glass installations where creative details matter, ensure the wall or frame has the structural integrity to support the weight or design of the glass panel. Double-check if lighting conditions, background materials, or other factors influence the visibility and aesthetic of the final result.
Step 2: Measuring Your Glass Panel Requirements
Accurate measurements are the foundation of flawless installation. Here’s a step-by-step breakdown:
1. Gather Tools You’ll Need
Before measuring, ensure you have the right tools:
- Tape measure
- Spirit level (for ensuring panel alignment)
- Notepad for recording dimensions
- Pencil or marker
- Laser measure (optional for higher precision)
2. Understand Mounting Type
Determine whether the glass panels will be:
- Frameless: Typically requires precise cuts and strong adhesives or discreet clamps.
- Framed: Allows for slightly more flexibility but requires proper alignment within the frame supports.
3. Measure Dimensions with Precision
- Width and Height: Take multiple measurements and note the smallest dimensions. This accounts for uneven surfaces or subtle irregularities in the structure.
- Depth (Thickness): Depending on the design, you’ll need to ensure the glass matches the project’s thickness requirements. For frameless structures or art installations, thinner panels may be ideal for light flow but will need tempered, strong designs.
4. Allow for Tolerances
When measuring, add allowances for expansion, contraction, or fitting requirements. For example:
- Use a gap allowance for frameless panels, especially if using adhesives.
- Account for spacing for tracks, sliders, or frames.
By meticulously recording all dimensions, you’ll be equipped to order custom glass panels that fit your project perfectly.
Step 3: Choosing the Right Glass Type
Glass panels come in a range of styles and finishes. Consider these options based on your design goals:
- Clear Glass: Ideal for maximizing transparency.
- Frosted Glass: Provides privacy without compromising light flow.
- Textured Glass: Adds an artistic element, perfect for creating statement designs.
- Tempered Glass: Stronger and safer, often essential for larger installations or frameless panels.
- Stained or Art Glass: Brings vibrancy and unique patterns to elevate your space.
Selecting the right glass panel type ensures that it enhances your surroundings with both beauty and functionality.
Step 4: Installing Glass Panels
Installation is where measurements, preparation, and artistry come together. Follow these steps to ensure smooth execution:
1. Ensure Safety
Always wear gloves, safety goggles, and appropriate footwear when handling glass, especially large or customized panels.
2. Prep the Mounting Surface
Clean the surface thoroughly to avoid adhesion issues or scratches. If using adhesives or silicone, ensure all debris is removed. For framed panels, double-check that brackets, sliders, or tracks are firmly secured.
3. Place the Glass Panel
Carefully position the panel according to your measurements:
- For frameless panels, use professional-grade adhesives or clamps to create a seamless finish. Ensure alignment using the spirit level.
- For framed panels, slide the glass into its housing, ensuring proper fit and stability.
Some installations, like art glass or decorative glass walls, may require additional attention for lighting placement, back supports, or edge detail to highlight the craftsmanship.
4. Secure and Test Stability
Double-check that all screws, adhesives, clamps, or brackets are firmly tightened. Once installed, test the panel’s stability by gently applying pressure and ensuring it remains securely in place.
Step 5: Caring for Your Installed Glass Panels
After installation, maintenance becomes essential for preserving the beauty and strength of glass panels. Regular cleaning with non-abrasive, glass-safe solutions prevents stains, scratches, and dulling. For art glass designs, avoid harsh chemicals that could damage the intricate detailing or finish.
Incorporating Art & Glass Into Your Designs
Once you master the basics of measuring and installation, glass becomes a medium for creative expression. From etched patterns to bold stained panels, glass installations allow you to experiment with reflectivity, color, and light. Imagine a frosted glass partition doubling as a canvas for artistic etching, or an oversized stained glass panel transforming a living room into a gallery-like space.
For those seeking bespoke glass creations, Glassy offers endless possibilities to bring your vision to life. From decorative wall panels to functional glass solutions, they blend craftsmanship with innovation to make extraordinary designs accessible. Visit Glassy and explore the artistry of glass for your next project.
Conclusion
Measuring and installing glass panels involves a combination of precision, care, and creativity. By following this step-by-step guide and embracing the artistic possibilities inherent in glass, you can elevate your interiors or architectural designs, transforming spaces with light, transparency, and evocative beauty.
Whether you’re refining a minimalistic design or making a bold artistic statement, glass panels are your canvas—and with thoughtful preparation, installation, and maintenance, the results will always shine.